[ad_1]
As with many of my projects, this DIY flower chandelier project is a process of making it up as I go along. I had a general idea of what I wanted the finished product to look like, but the individual steps to get from the starting point to that finished product weren’t quite so clear in my head when I started out. So yesterday, I found myself having to redo a part of the frame.
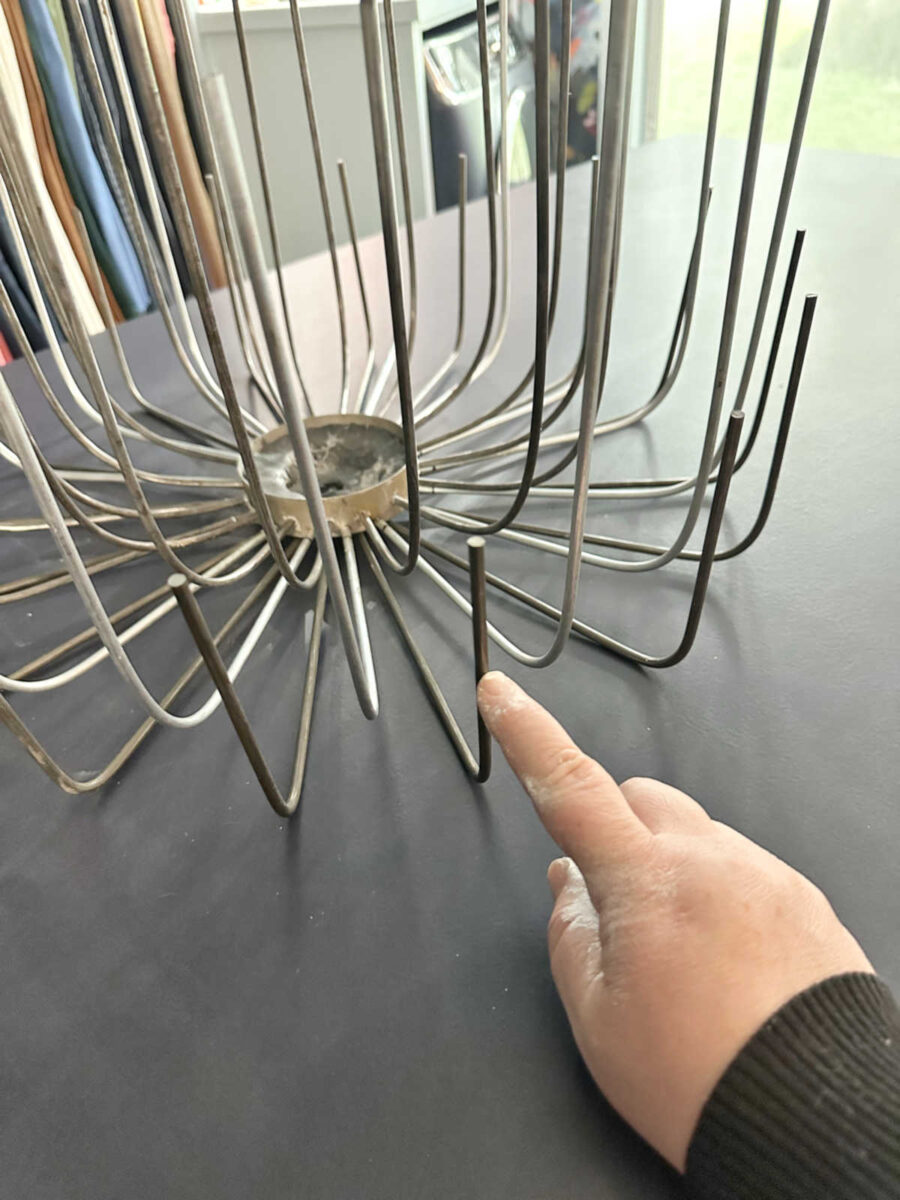
As you can see from this photo that I showed you yesterday, on that bottom row of metal I had kept the same spacing (i.e., the same 5/8″ measurement) between the metal rods that I used on the top upper rows. But that resulted in the bottom row of rods not being evenly spaced between the two upper rows of rods. And this became a problem when I started bending that bottom row of rods up. It looked messy, uneven, and unplanned.
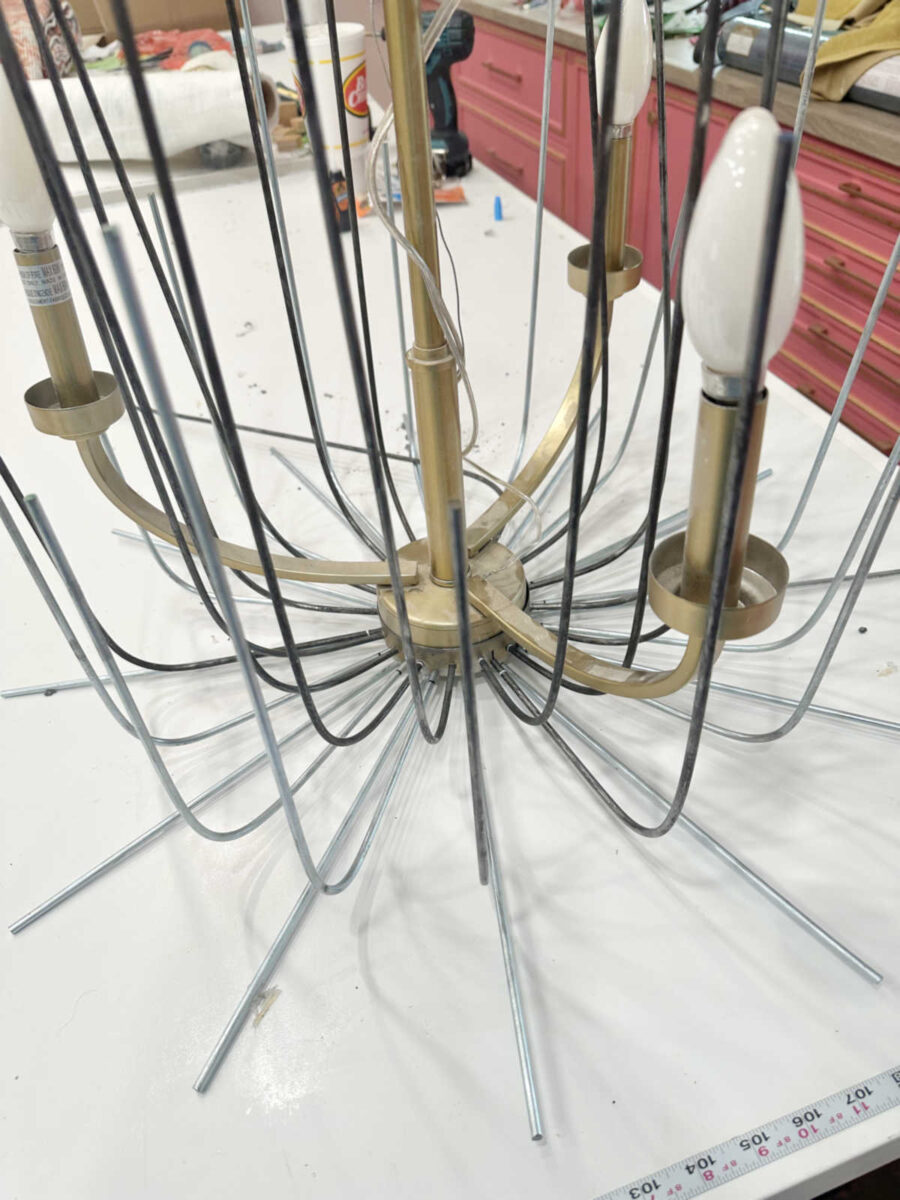
So yesterday, I knew I needed to redo that whole row. But I already drilled holes through the metal, so I needed to figure out how to do that. After removing those metal rods (which took quite a bit of brute force and sheer determination since they were held in place with JB Weld), I then used more JB Weld epoxy clay to cover over the holes that I had already drilled, making sure to push the clay into those holes as I molded it around the bottom metal piece. I tried to get it as perfect as possible before the epoxy clay dried, and then when it was completely dry, I used 100-grit sandpaper to smooth it out.
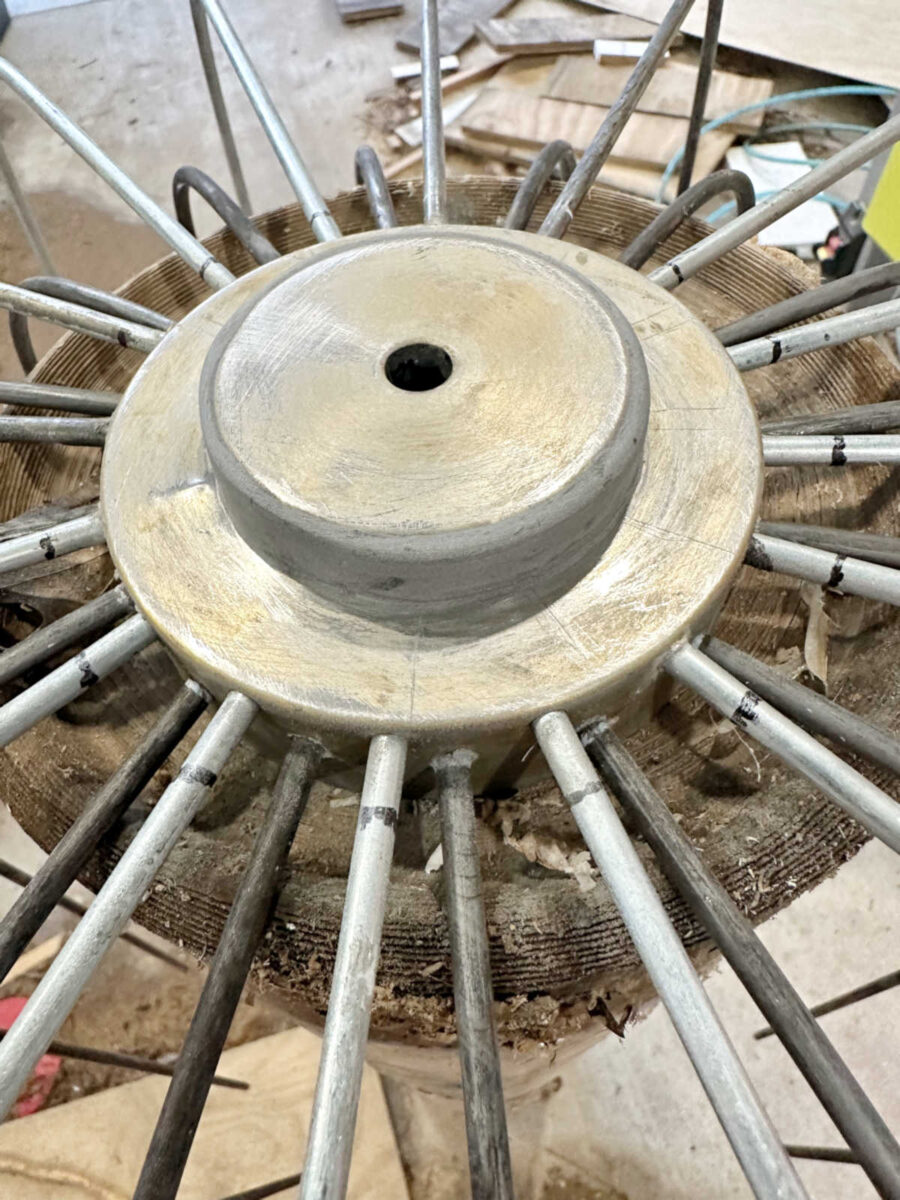
This gave me a new base into which I could drill the new holes, and then I re-inserted the metal rods and held them into place using super glue. It actually worked quite well!
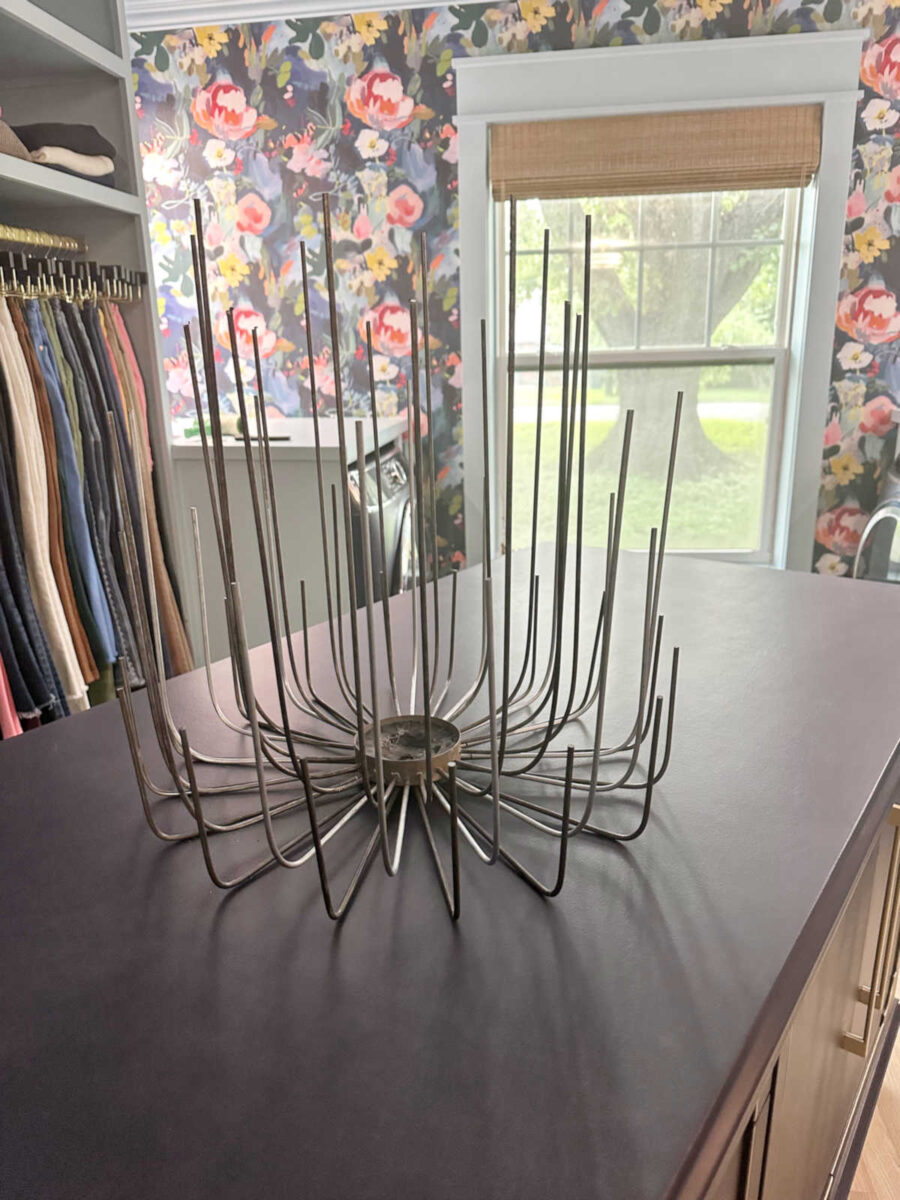
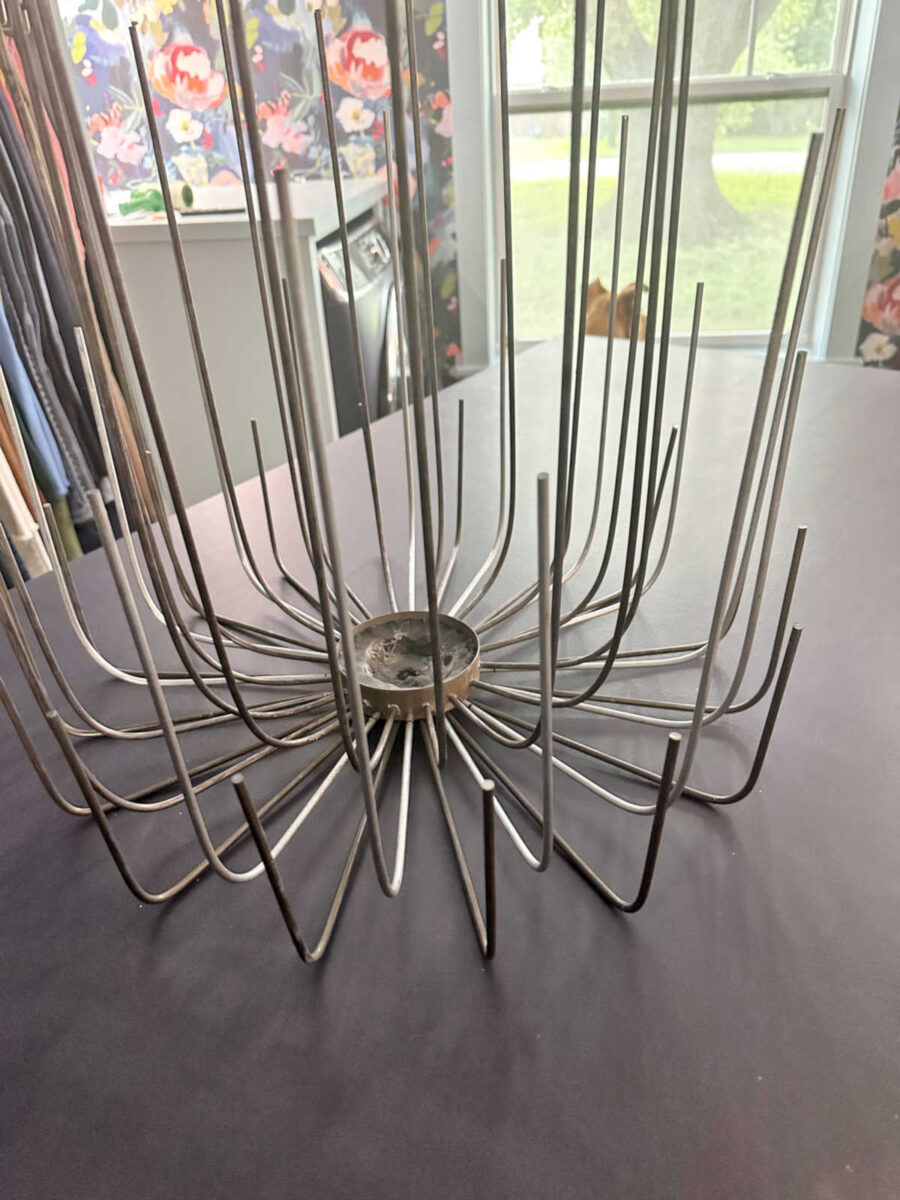
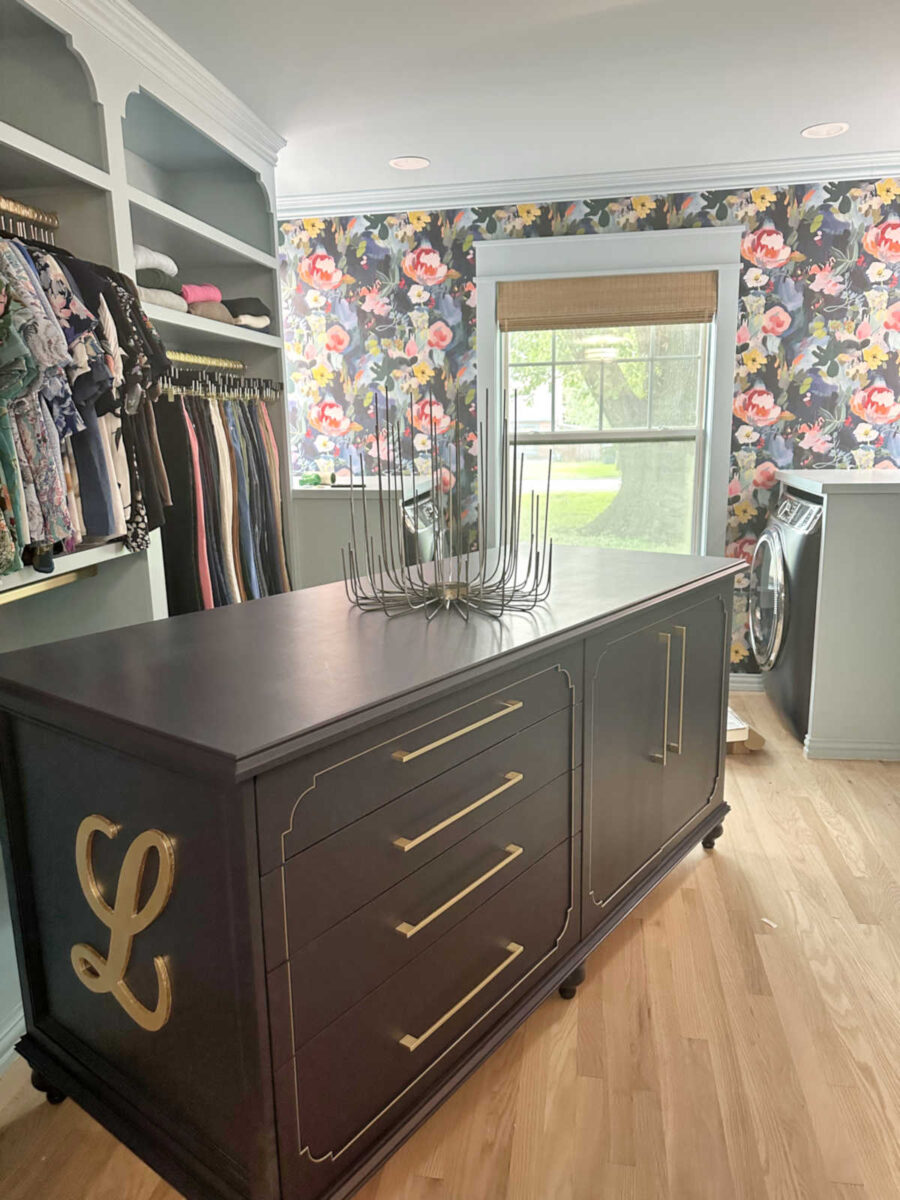
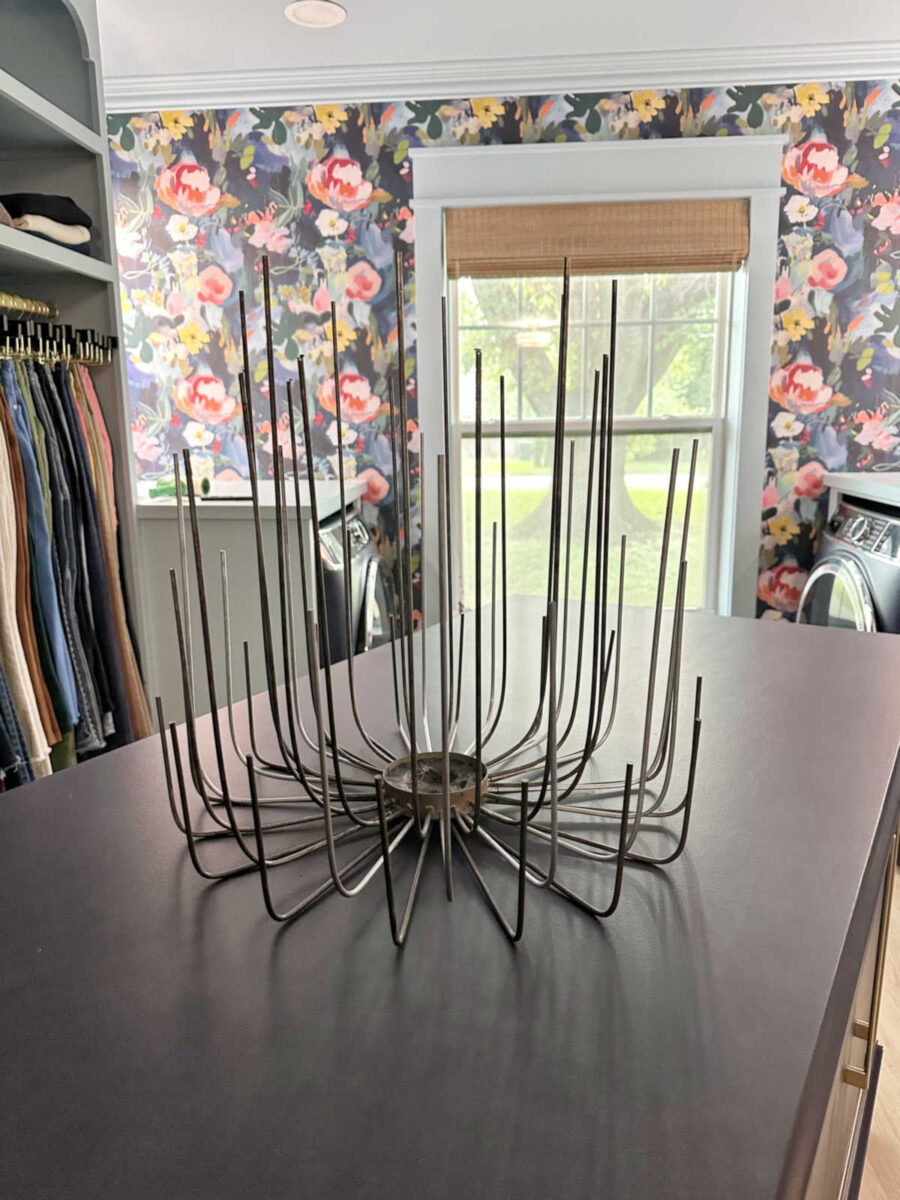
Once I had that row of metal rods in place and secured, I used a 1-inch wood dowel rod to bend that row up, just like I had used an empty quart paint container, and a spray paint can for the first two rows. I have to admit that I was pretty proud of how this whole frame turned out. I know it looks like a mess right now, since there are no flowers, and the whole thing is an ugly color. But just imagine the flowers attached and the whole thing painted white.
With the frame finished, I was ready to make some flowers. And this is where things went off the rails. 😀 But interestingly, even though my first two flower experiments failed miserably, my confident level on this project has increased from 60% to about 80% after yesterday.
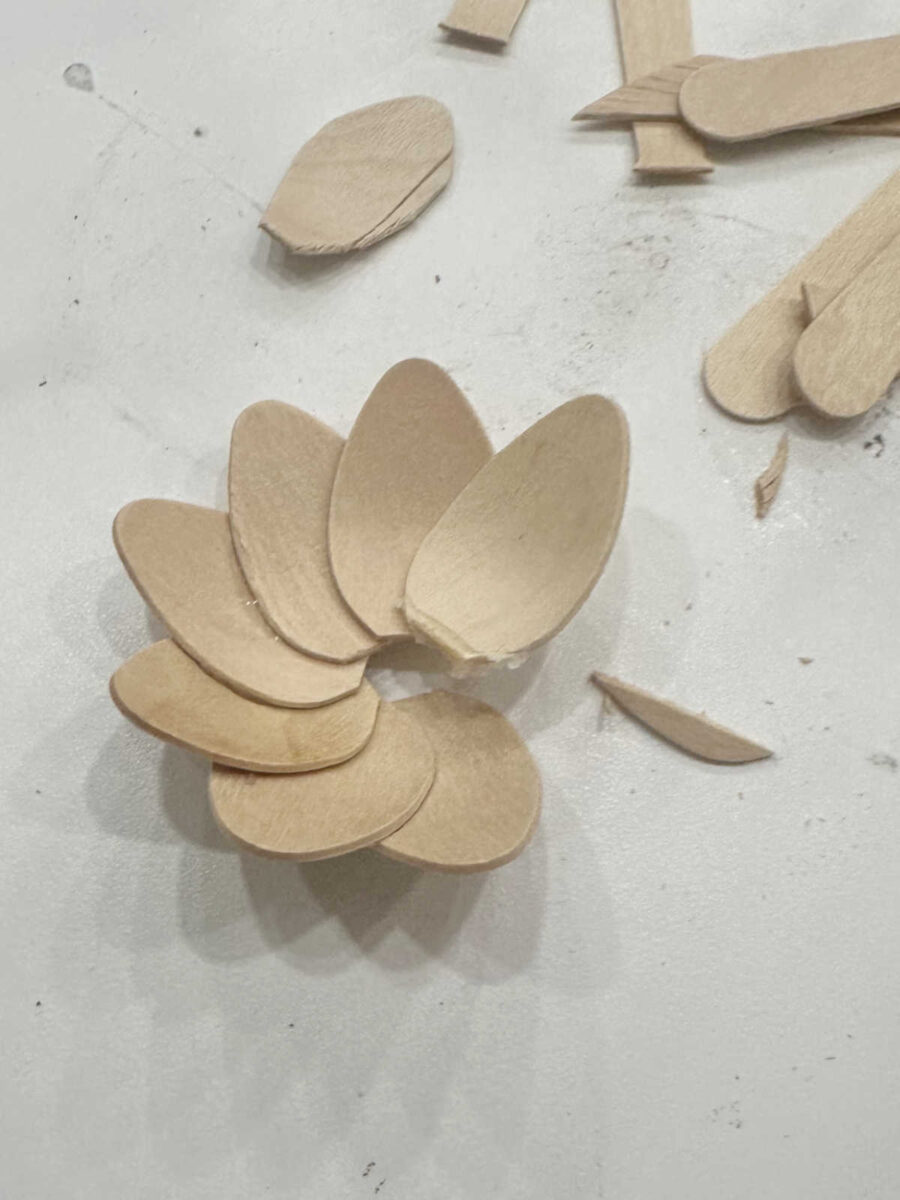
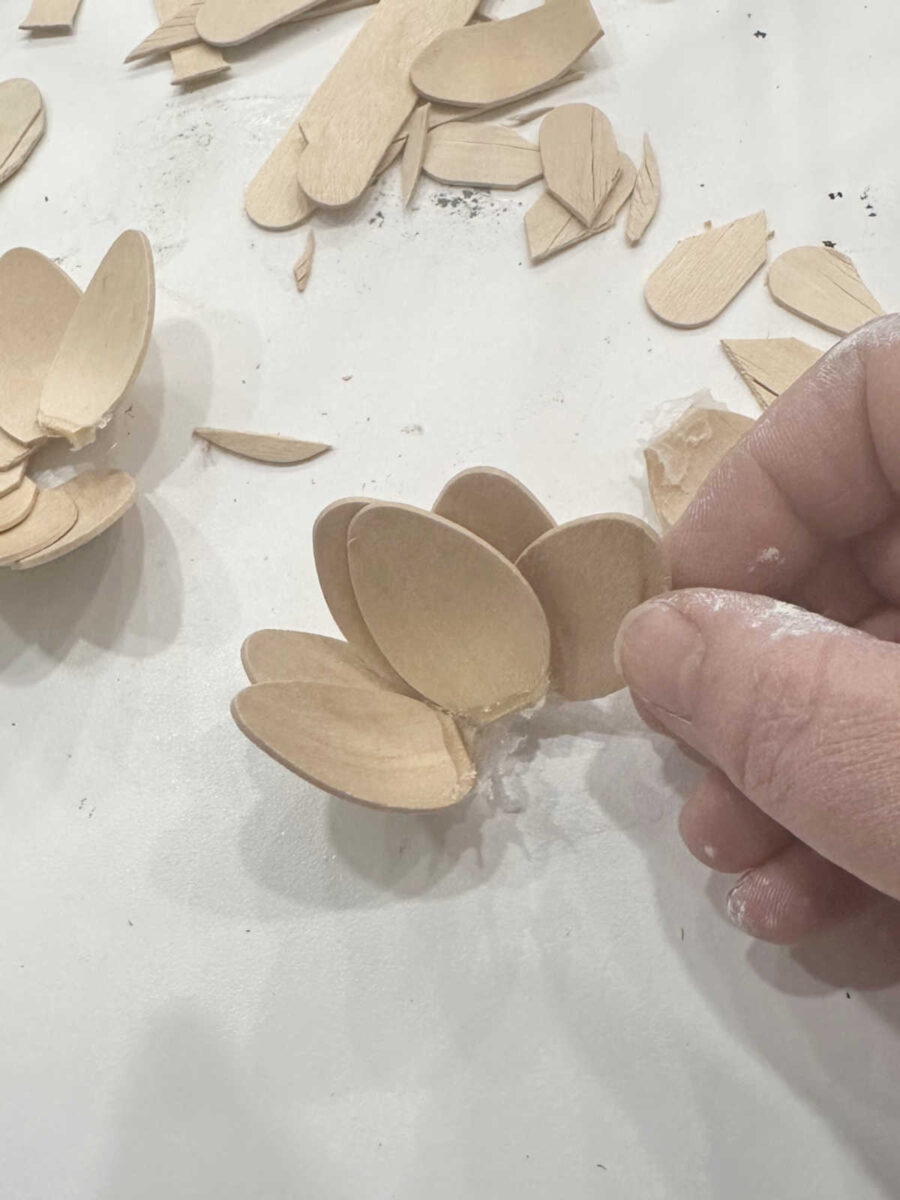
After watching lots of videos on how to make flowers with various types of media, I had pretty much determined that air dry clay would be the best option for this chandelier. But since I have hundreds of wood tasting spoons on hand, I thought I’d try those out first. These were a fail. The spoons aren’t curved enough. Since they’re so flat, it’s hard to get them into a flower shape. I tried gluing them to each other like this, but you can see how flat that made the flower shape.

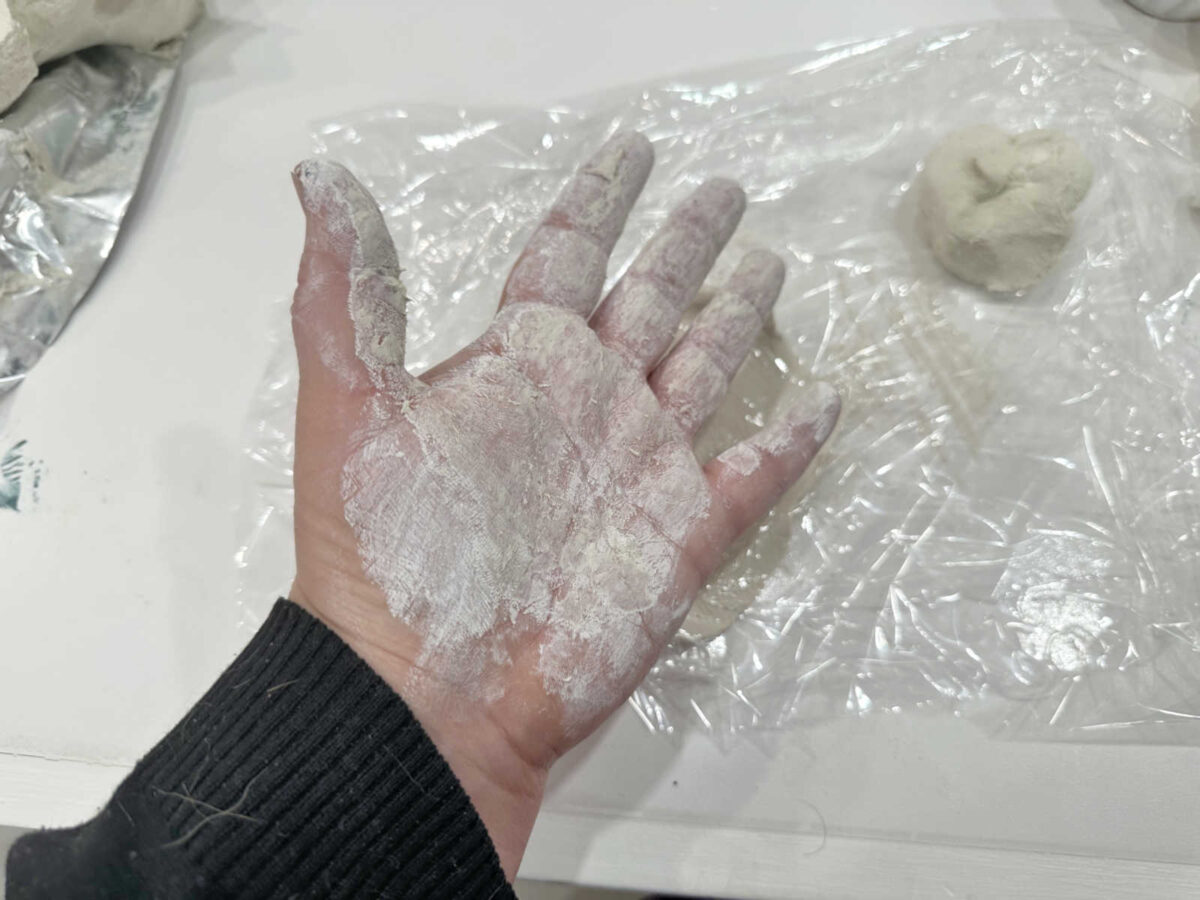
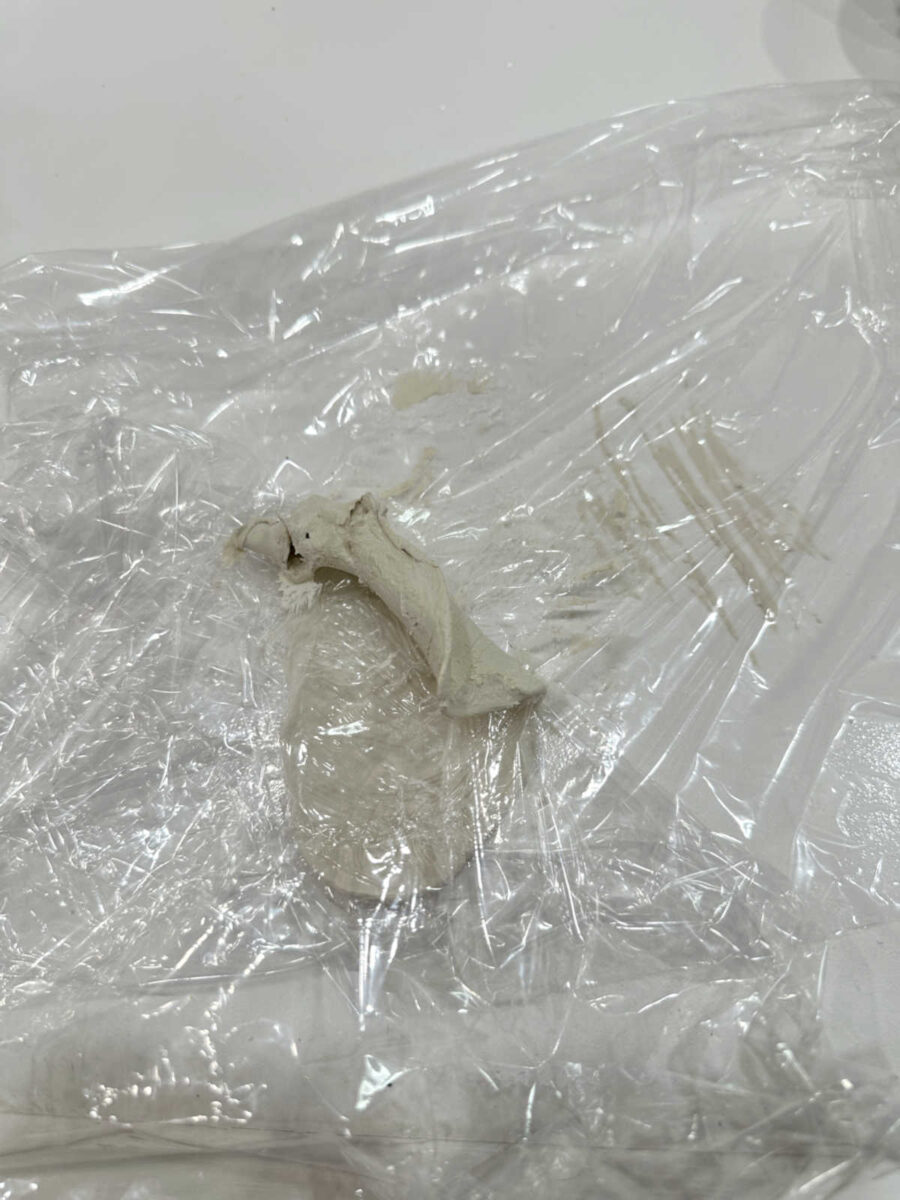
So both of those experiments failed. I’m thinking I just need to try a different brand of air dry clay. Or maybe I need to go with an oven-baked clay. I don’t really know. I’m feeling a bit out of my element here. I only have a tiny bit of experience with clay, and it’s been years since I’ve attempted any kind of project with an oven-baked clay. But I do remember it being a lot easier to work with than this, and it didn’t stick to everything it touched.
If you have any experience with clays, I’d love to know what you think! Is there a better brand of air dry clay that I should be using? Should I go with an oven-baked clay? Is there another product that I haven’t thought about (or don’t know about) that would be easier for sculpting flowers? Tell me what you think.
More About My Walk-In Closet/Laundry Room

see all walk-in
closet diy projects

read all walk-in
closet blog posts

Addicted 2 Decorating is where I share my DIY and decorating journey as I remodel and decorate the 1948 fixer upper that my husband, Matt, and I bought in 2013. Matt has M.S. and is unable to do physical work, so I do the majority of the work on the house by myself. You can learn more about me here.
[ad_2]