[ad_1]
I started out working on smaller projects for the walk-in closet yesterday, but about 5:30, I decided that I’d much rather start building the island. So I headed to Home Depot to pick up everything I needed for that project. Needless to say, once I got home with all of those supplies, I didn’t have much time to work, but my main goal was to get the basic box built, attach the feet, and put it into place so that I could get an idea of what this room will look like with an island. I’ll skip to the end and show you that part, and then I’ll back up to the beginning and show you the process.
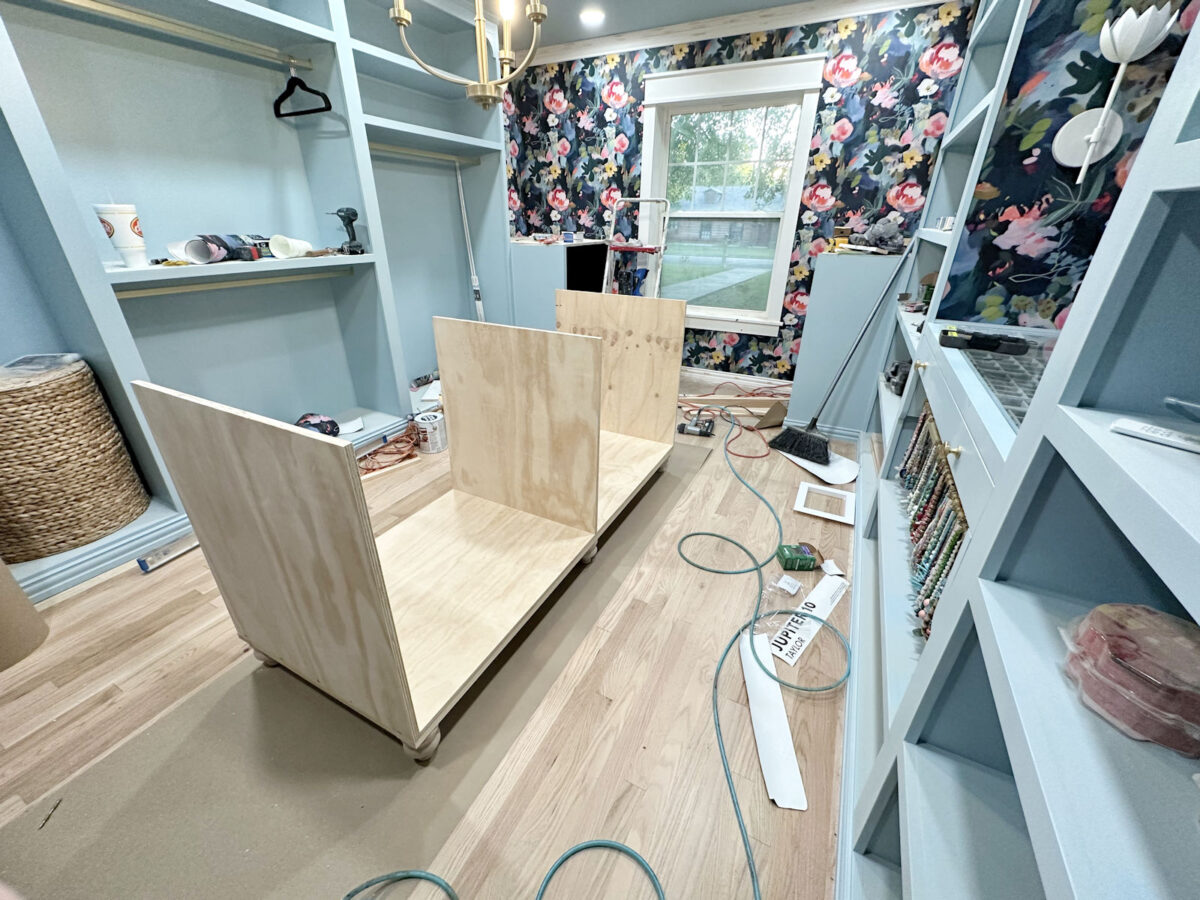
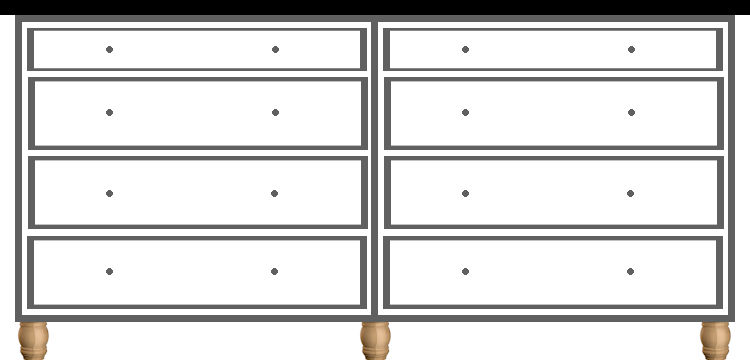
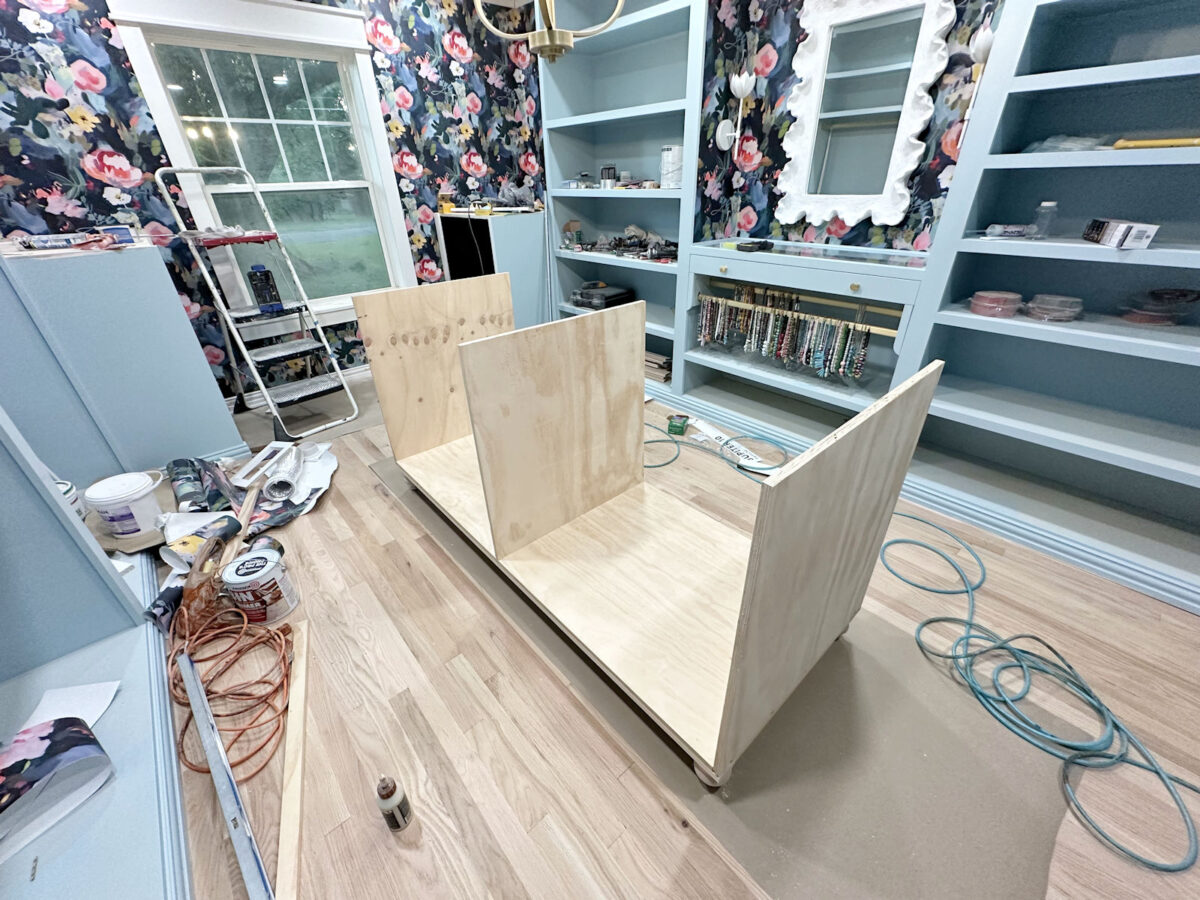
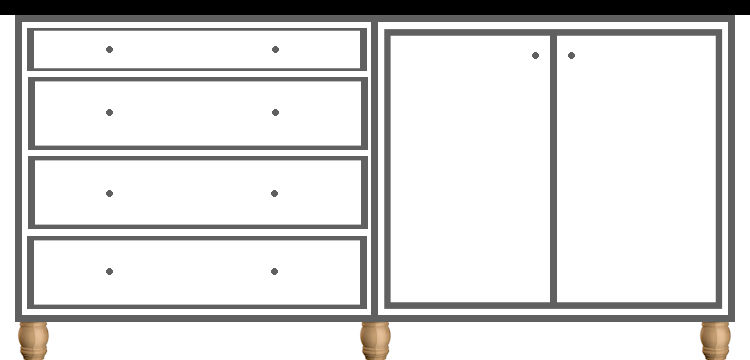
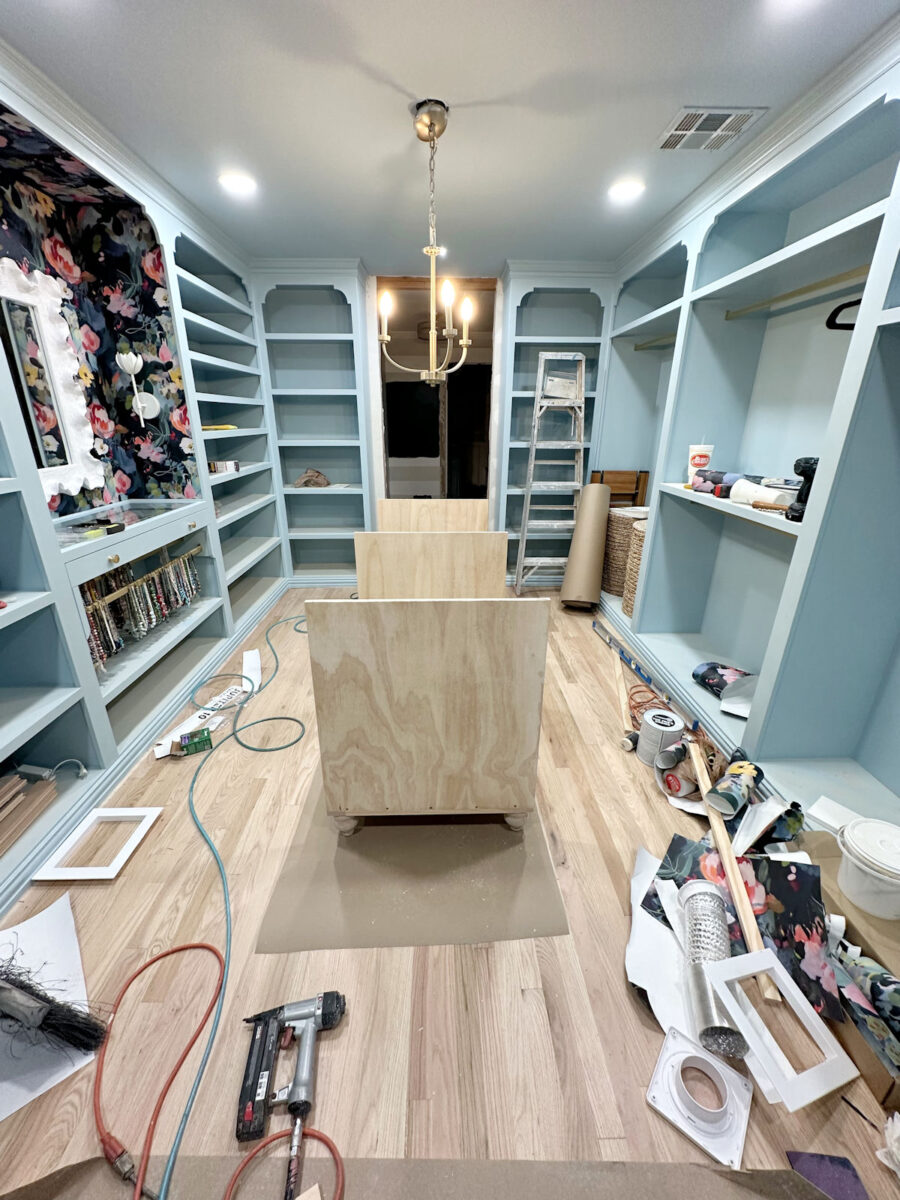
Here’s what I’ve been anxious to see for a while now. This is the size of the island, and what it looks like in the room.
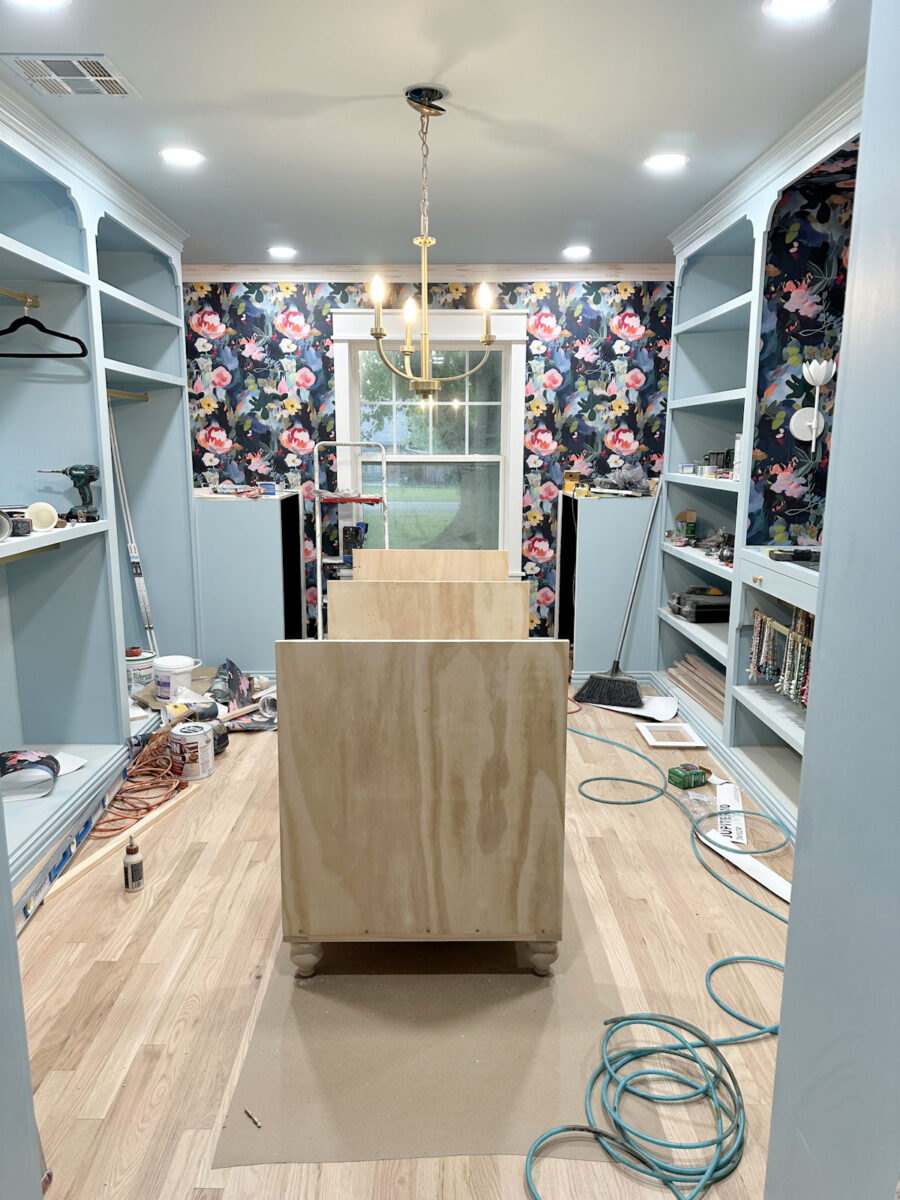
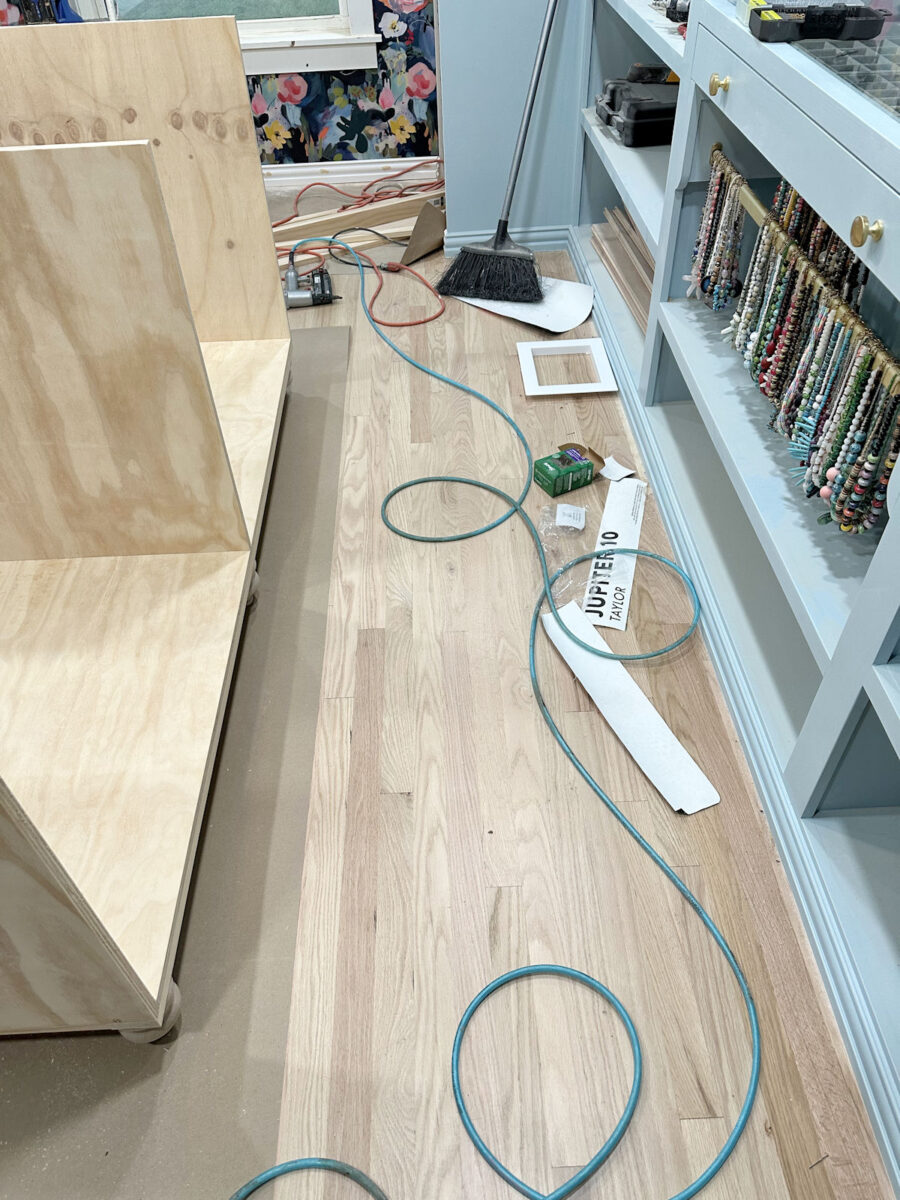
The finished island will be 30″ x 72″, plus the overhang on the countertop, which will be about an inch on all four sides. That will leave me with 36 inches of floor space on all four sides of the island. And while, in my mind, I’ve known that 36 inches of walking space around the island is plenty of room, I’ve still been anxious to actually see it. So I was very relieved to get the island to the point where I could actually stand it up, put it into place, and then get a feel of walking around it in the room to see for myself that it will actually work. And it’s great! I still have plenty of room to open my jewelry drawer all the way, which means that I’ll have plenty of room to open all of the island drawers as well. So my planning worked out perfectly!
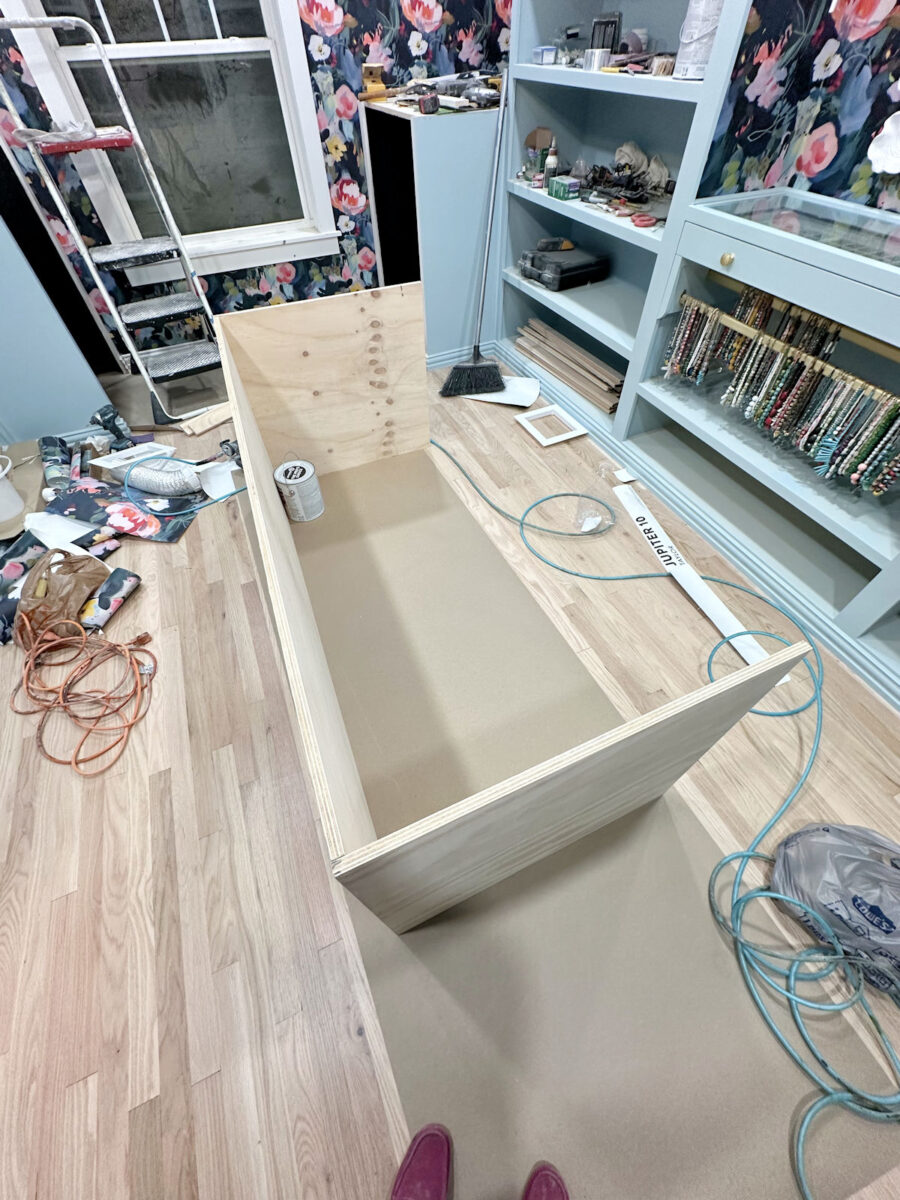
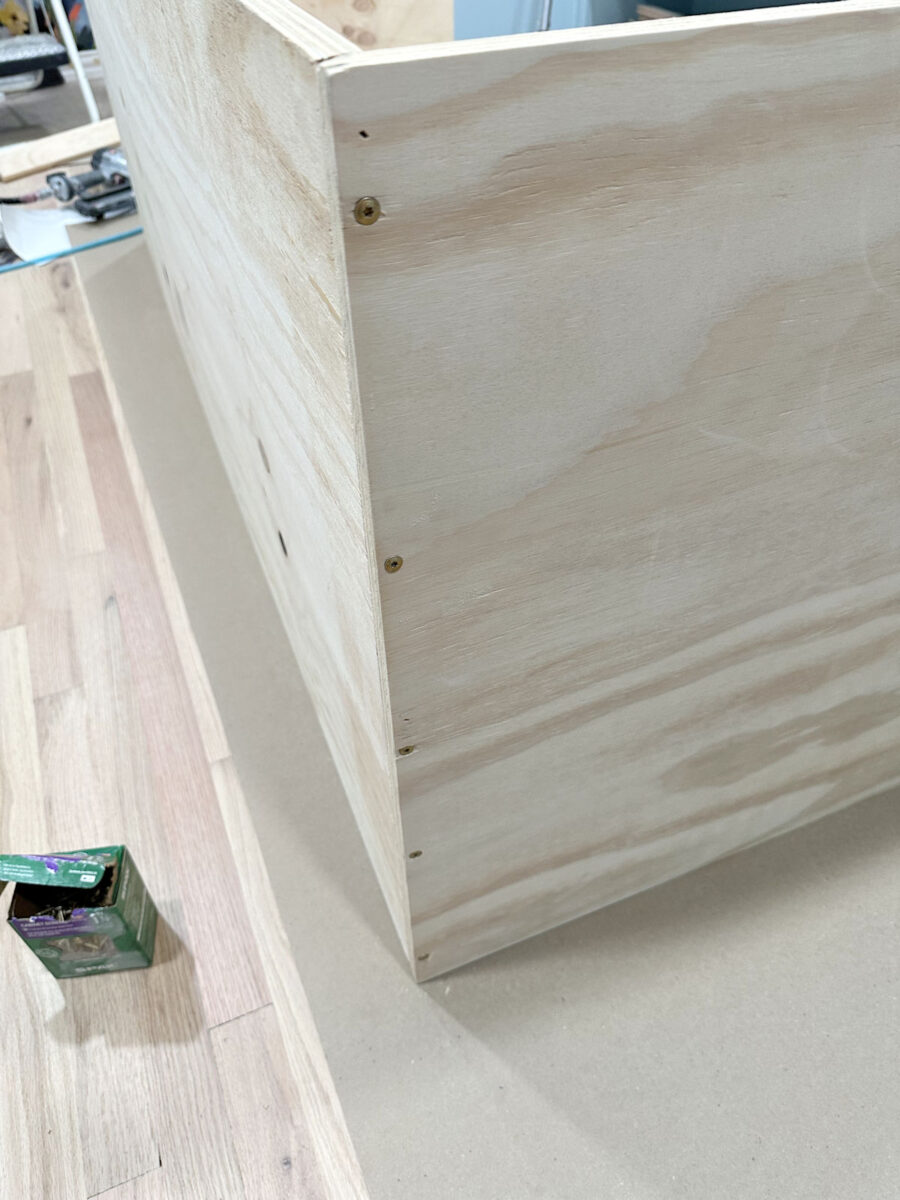
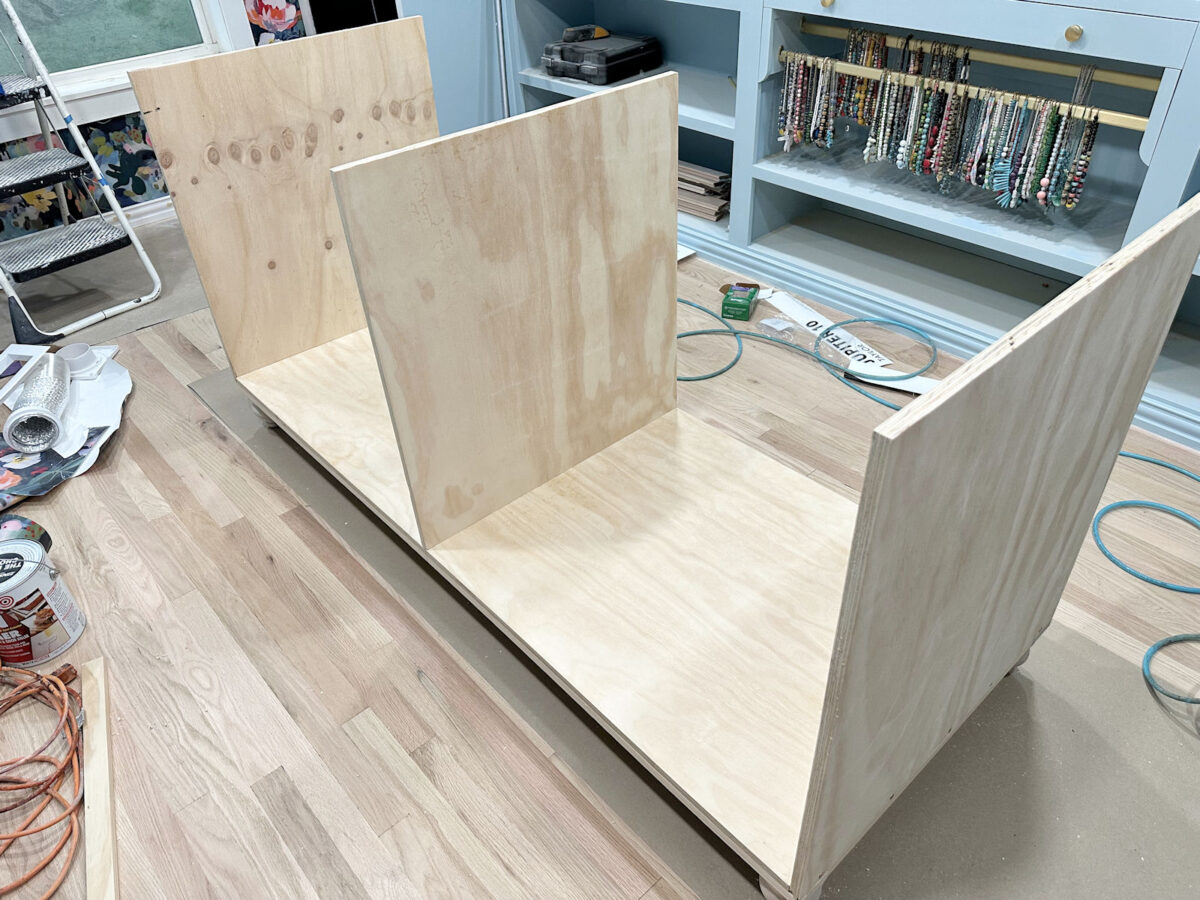
I don’t know why I decided to do it this way, but I nailed and then screwed the side pieces into the edge of the bottom piece. In hindsight, I wish I had made the side pieces 3/4″ shorter, and the bottom piece 3/4″ wider on each side, and then nailed and screwed the pieces together so that the side pieces were on top of the bottom piece. Either way will work, though.
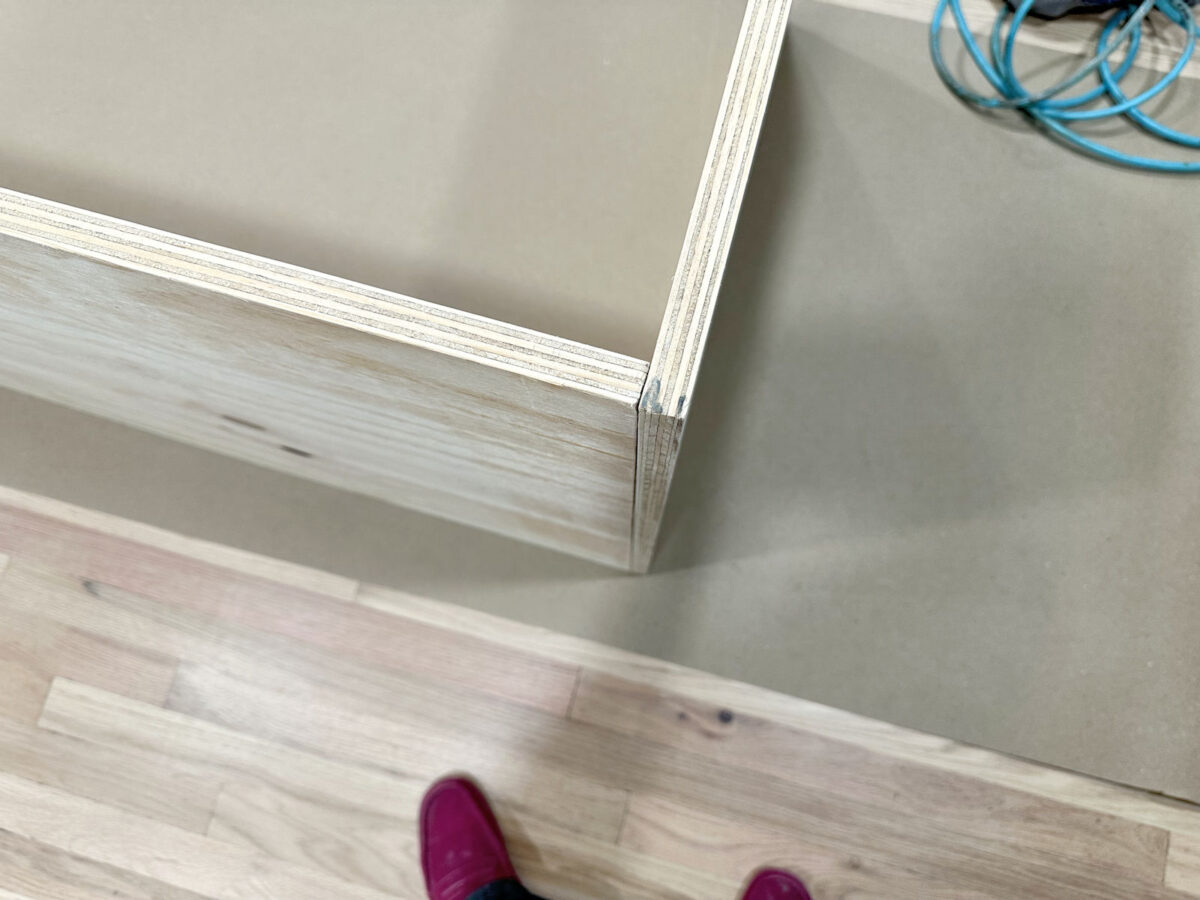


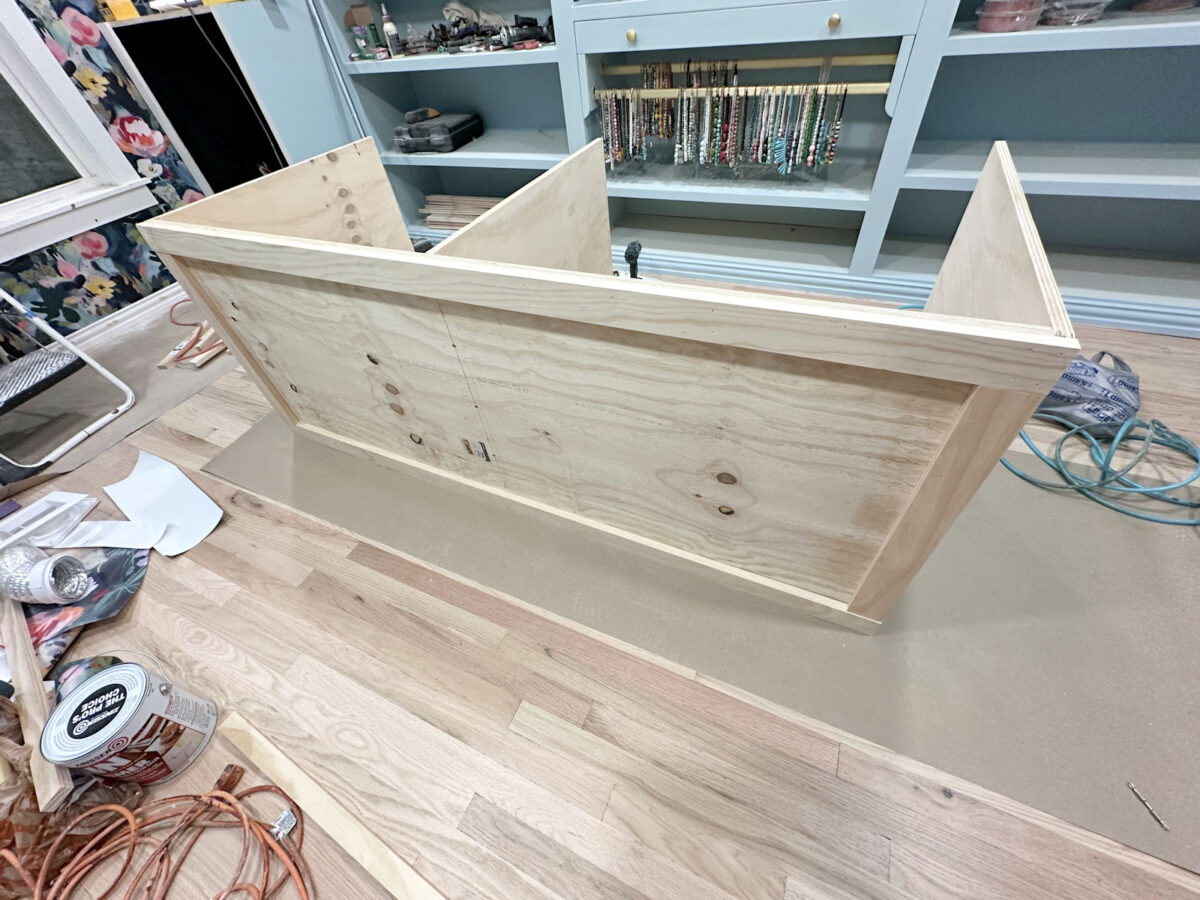
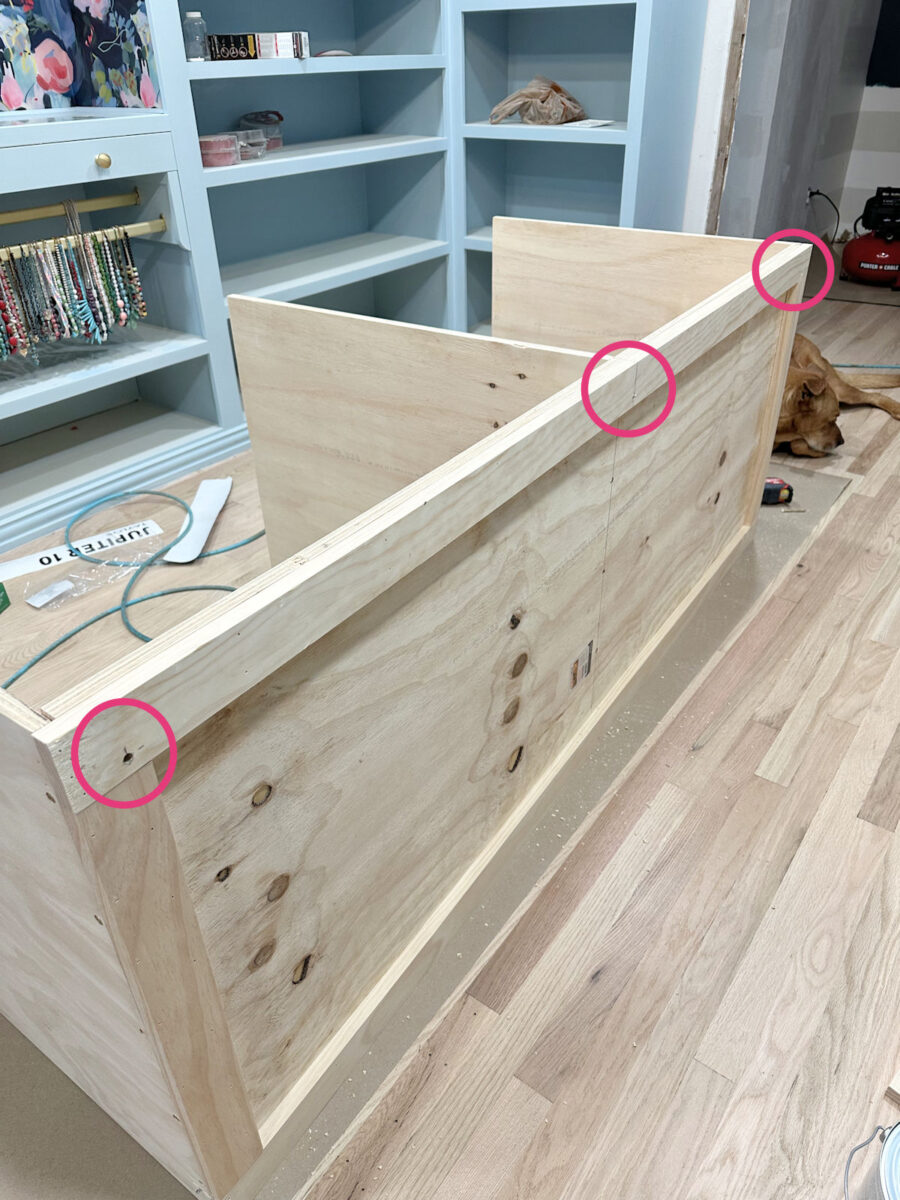
Then I added a “frame” using 1×3’s around the bottom. The purpose for these pieces was to give a little more depth to the wood in those areas where the feet would be attached, and also give me something to attach bottom trim to. I attached these pieces only using 1.25″ 16-gauge nails. There was no need to use screws for these pieces.

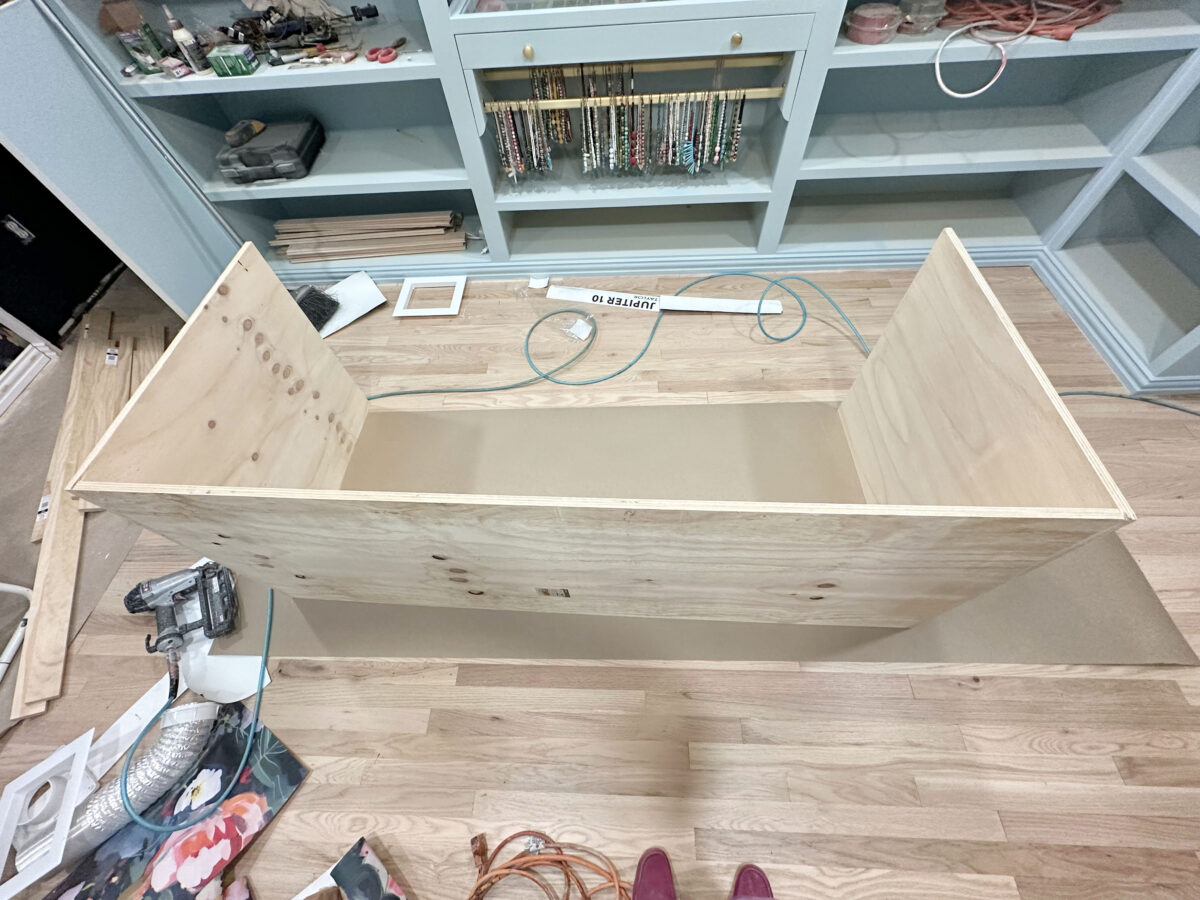
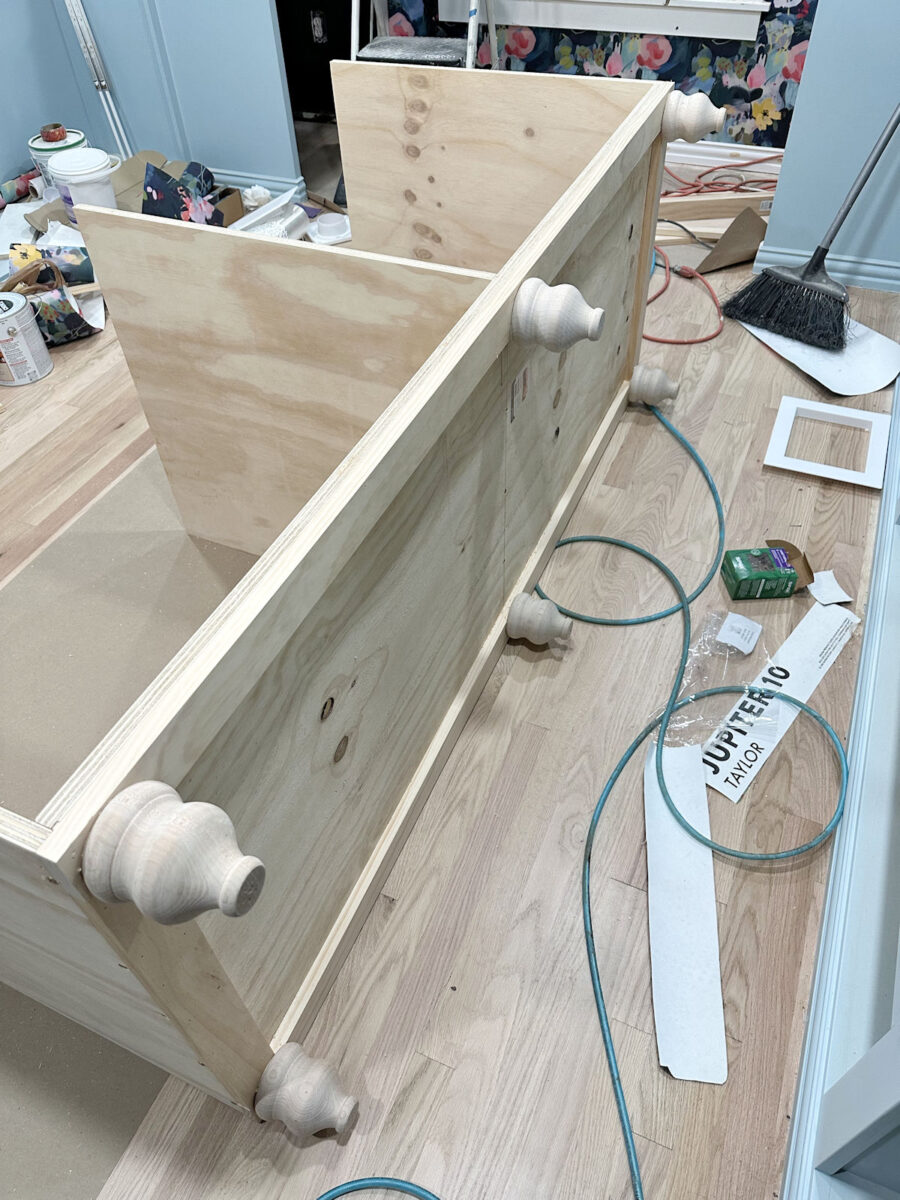
I flipped the piece over to attach the frame to the other side because I wanted to be sure it was lined up perfectly with the edge of the plywood bottom, and then I attached 1×3 pieces to each side to complete that frame. I didn’t need those side pieces to attach the feet, but again, the bottom trim will go all the way around the island, and this gives me something to nail that trim to.
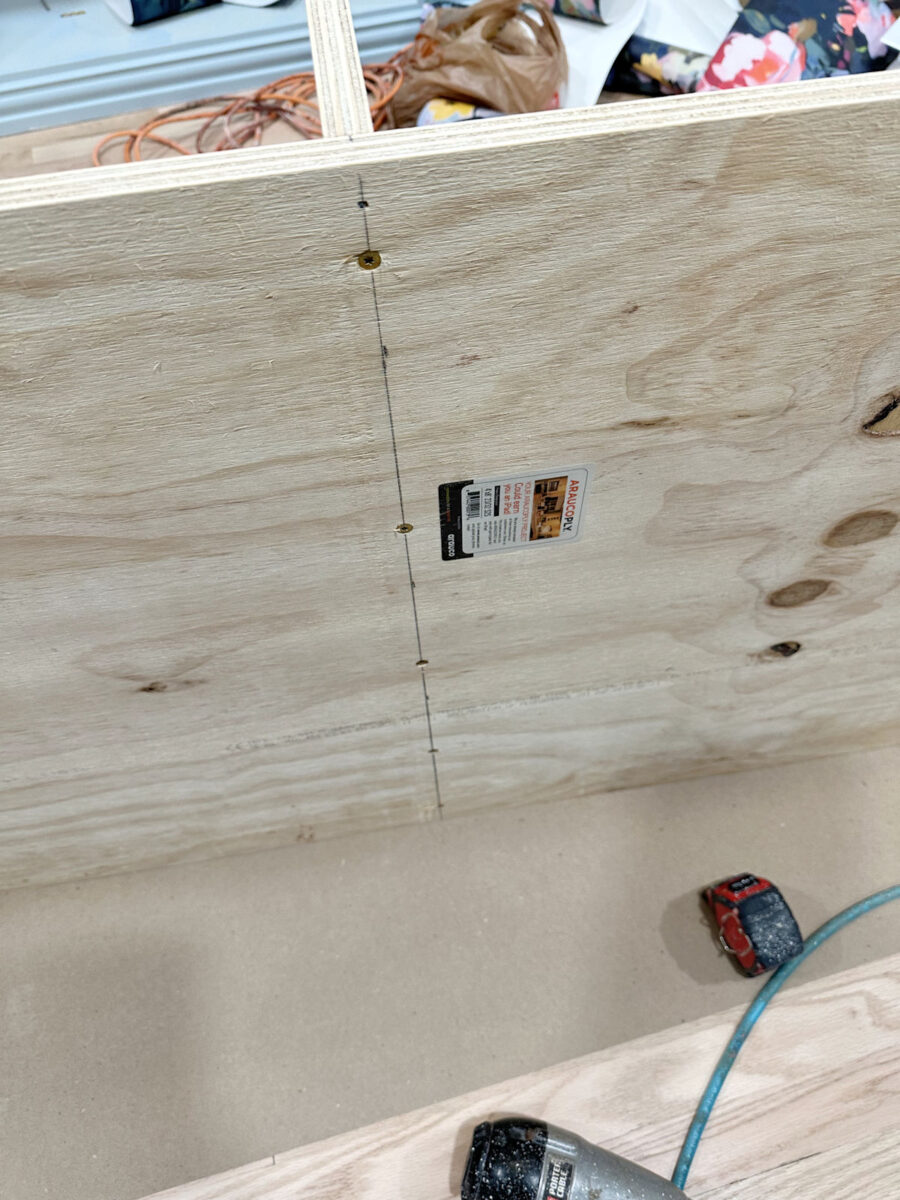
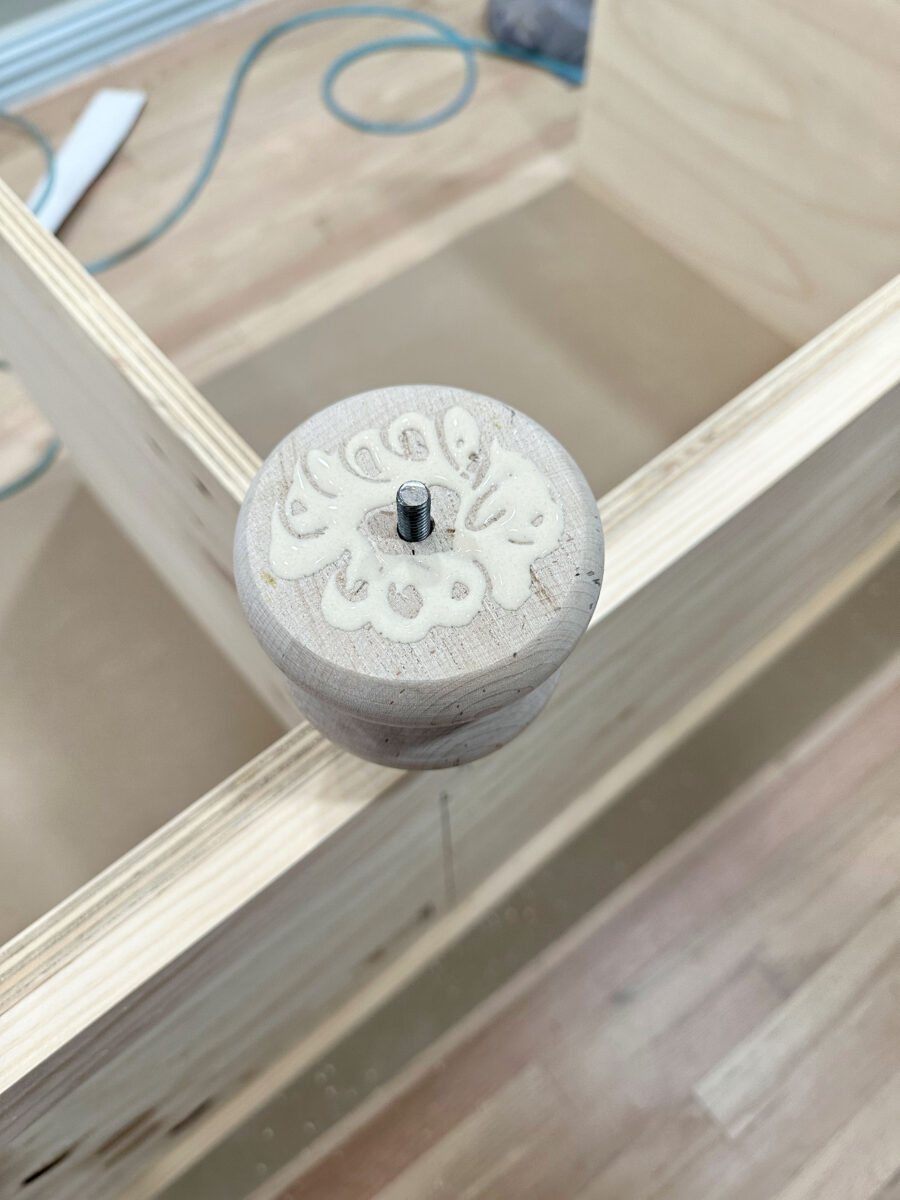
To attach the feet (turned wood feet that are 4.5″ high and 3.5″ wide, from Lowe’s), I drilled holes for the threaded bolts on the feet. I didn’t bother buying those metal plates that the bolts screw into because that would have just added more height to the feet that I’d have to subtract from the drawer area, and I want to squeeze ever fraction of an inch I can out of the overall 36-inch island height for the drawers. Plus, they’re just not needed on a project like this. So after measuring and marking how far back the feet would need to go for the bottom trim not to hit the feet, I drilled the holes for the furniture feet bolts.


I wish I had started on this earlier in the day so that I could have gotten further along on the project, but at least I got it to the point where I could actually visualize the size of the island in the closet. Hopefully I can make a whole lot more progress on this over the next two days! I hope to have a lot more island progress to share with y’all on Monday.
Side note: I apologize to all of you neat freaks who are probably feeling an incredible amount of anxiety looking at these pictures of me working on this project before cleaning up my messes from previous projects. 😂 Sometimes I forget that not everyone’s work process is like mine, where I can just shove everything to the side and jump into something new. And I promise you that my floor is okay. I’ll try to take some time this weekend and get things cleaned up so all of you organized people don’t have to feel anxious looking at the progress pictures on Monday. 😀

Addicted 2 Decorating is where I share my DIY and decorating journey as I remodel and decorate the 1948 fixer upper that my husband, Matt, and I bought in 2013. Matt has M.S. and is unable to do physical work, so I do the majority of the work on the house by myself. You can learn more about me here.
[ad_2]