[ad_1]
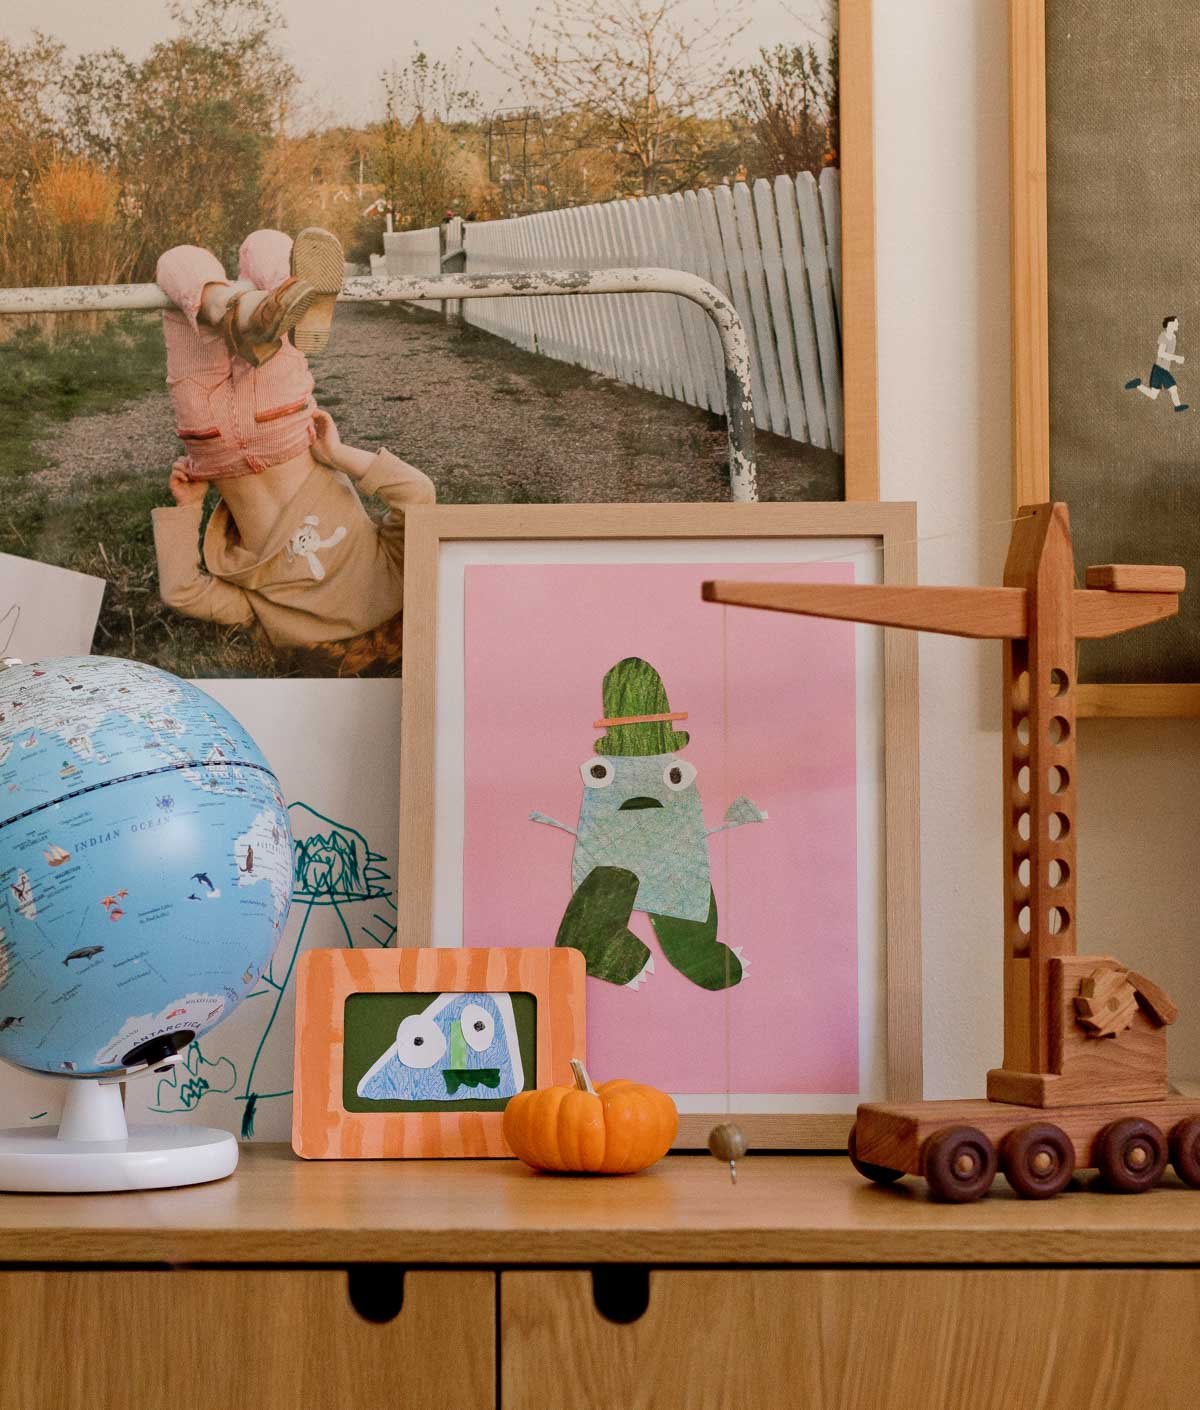
A Halloween art project that you can display year round.
Often, when I’m feeling stuck creatively, I grab some paper and a glue stick and play around with collage.
There is something to be said for making something new from something old / discarded. And in many ways, that’s what collage is – a fun exercise that tells a story in a different way than say a drawing or painting would. It requires layering and experimentation, kind of like a puzzle with no rules. Which makes it really fun!
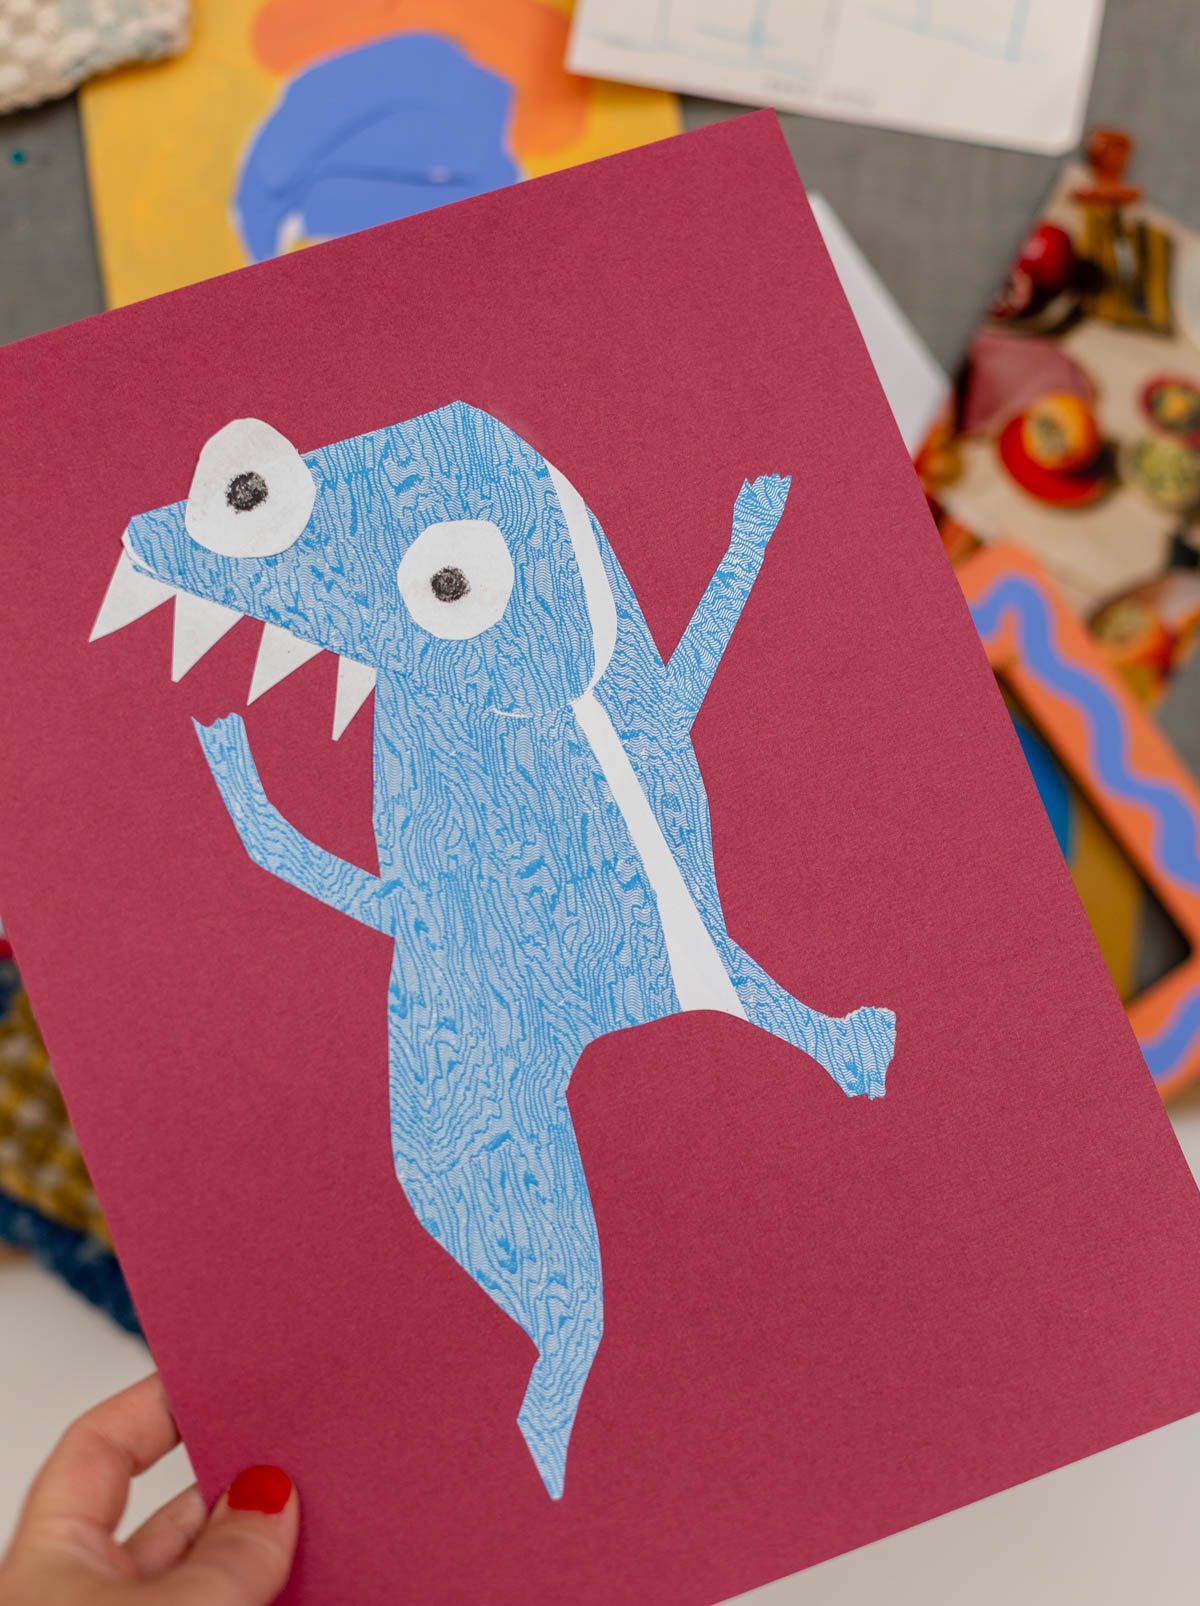
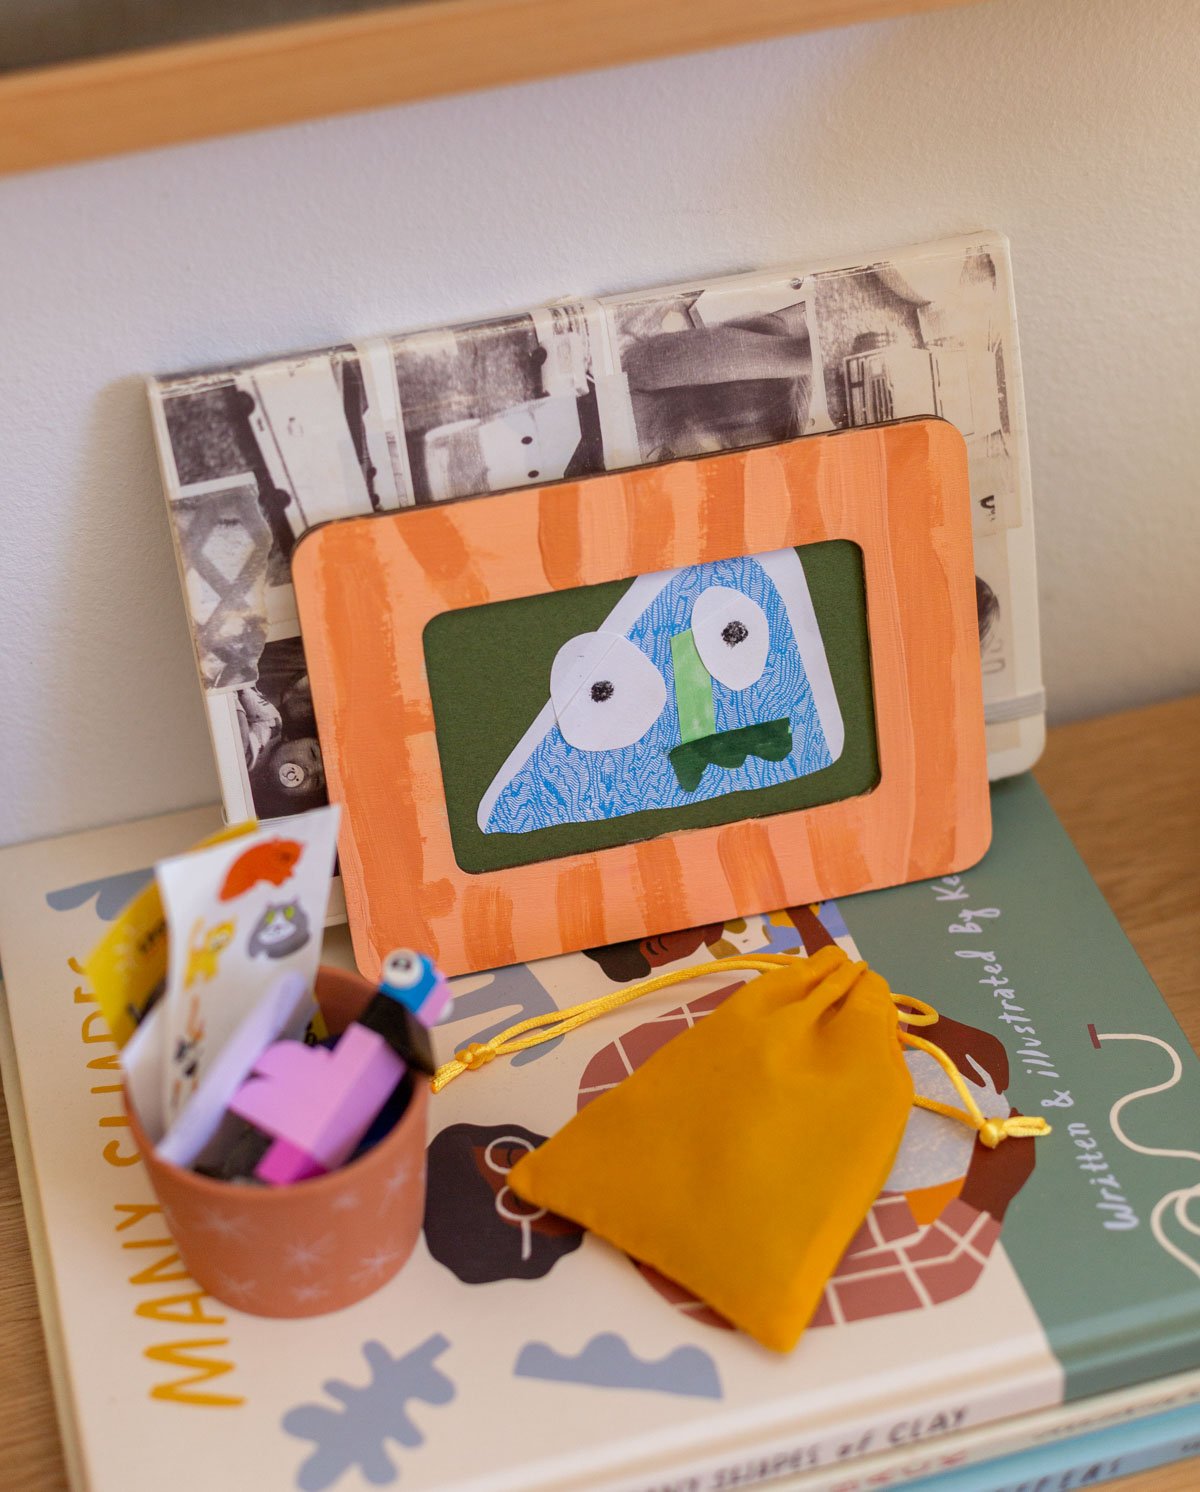
So here’s a Halloween art / collage idea that you can try right now. Use junk mail envelopes and magazines to create quirky collages for spooky season.
This DIY Halloween project appears in my free eBook called Halloween: 31 Crafty Days of Halloween for Kids. It features 31 kid-friendly DIY ideas – one for everyday of October. Including a monster piggy bank made from a juice box, clay bowls, felt spiders, and so much more. Download it now!
To get your free copy, enter your email address below and I’ll send it to you instantly.
Materials
- junk mail, catalogs, magazine clippings*
- sturdy background – like cardboard from a cereal box, cardstock, etc
- crayons, colored pencils, markers, paints (optional)
- glue stick
- scissors
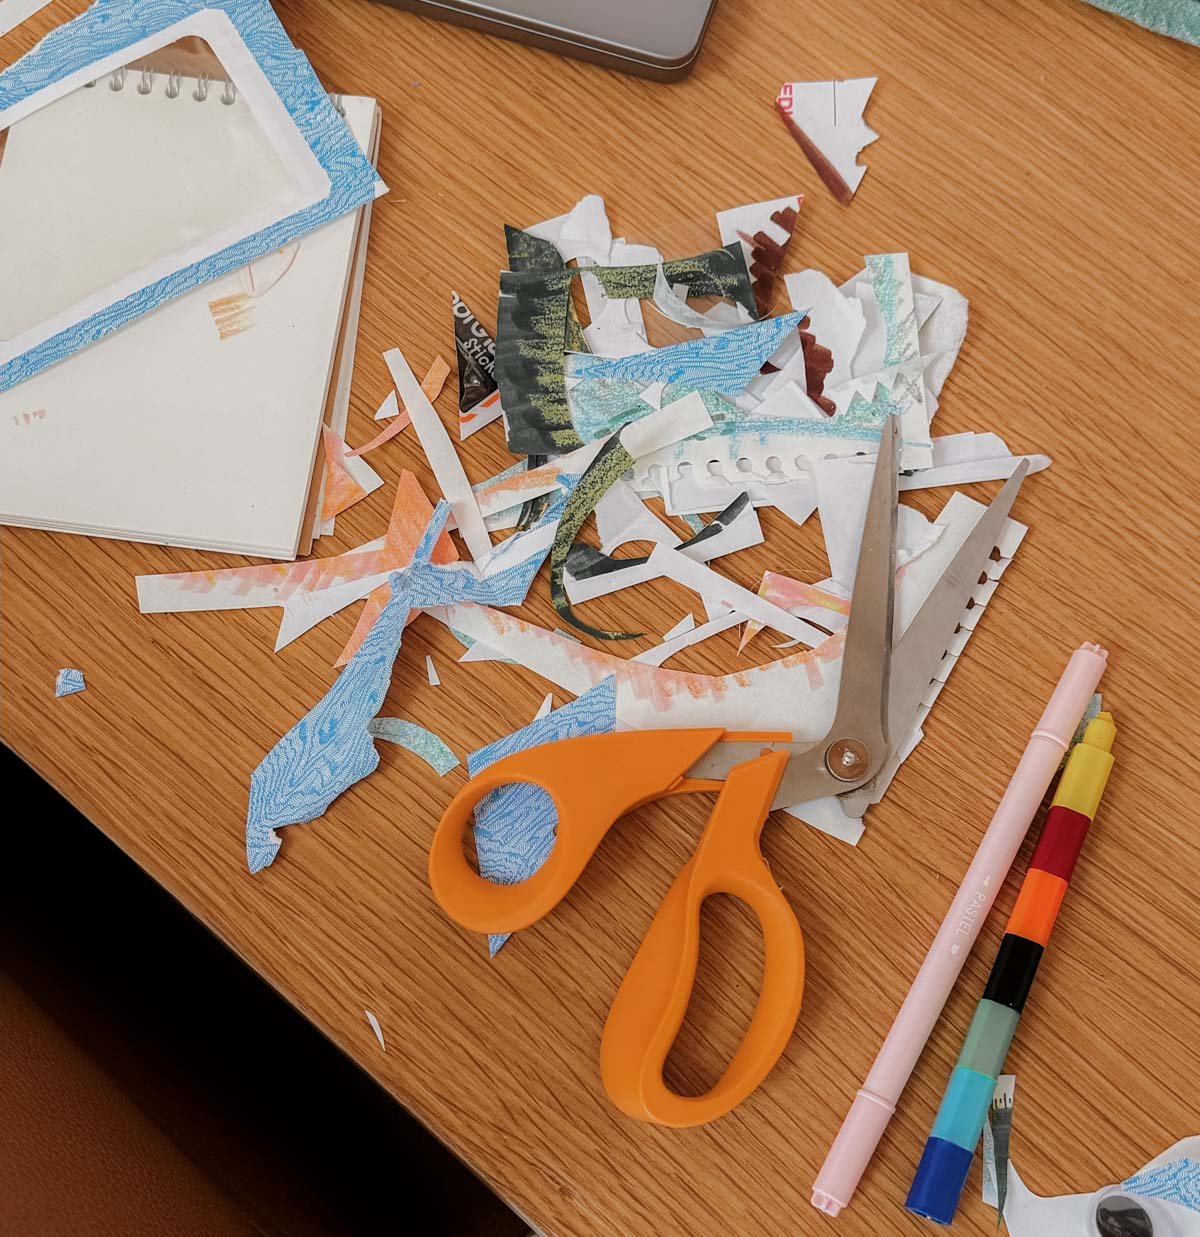
*I especially like to use security envelopes because they have funky patterns on the inside, which is perfect for this kind of thing. So, be sure to keep that junk mail for a rainy day collage session.
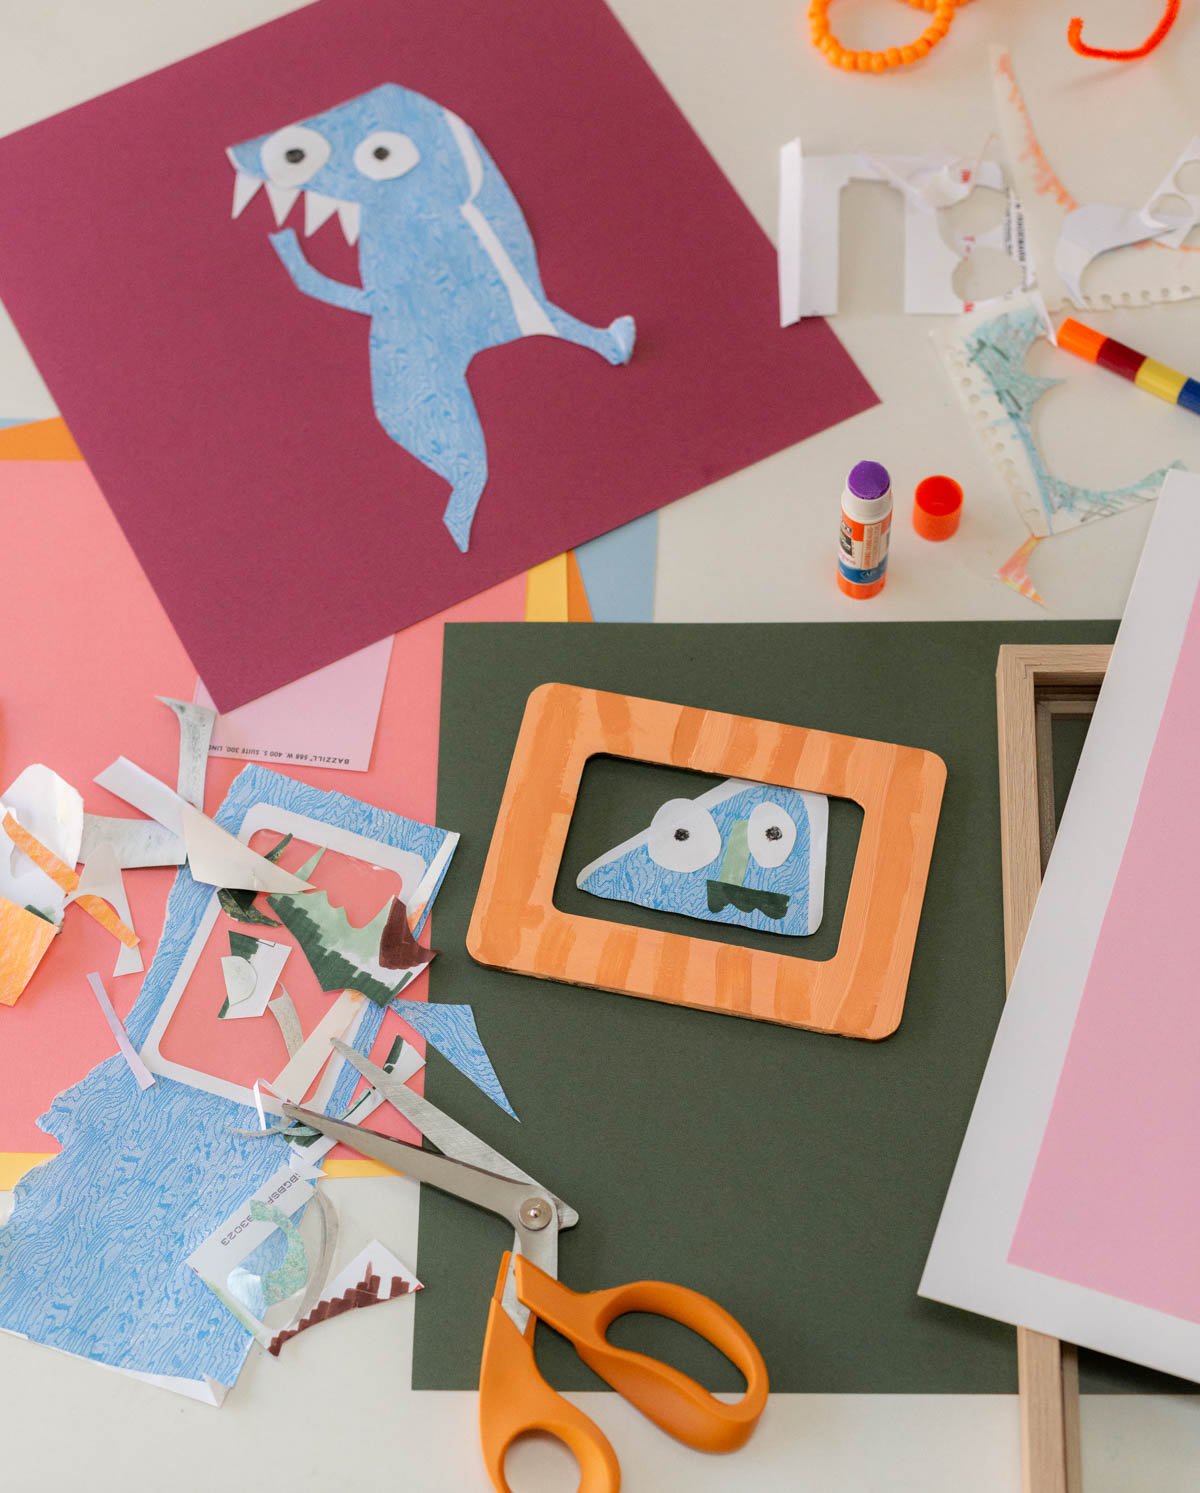
How to make Halloween art with junk mail
This Halloween collage is very easy to recreate! You just need some scissors, something to color / draw with, and a glue stick.
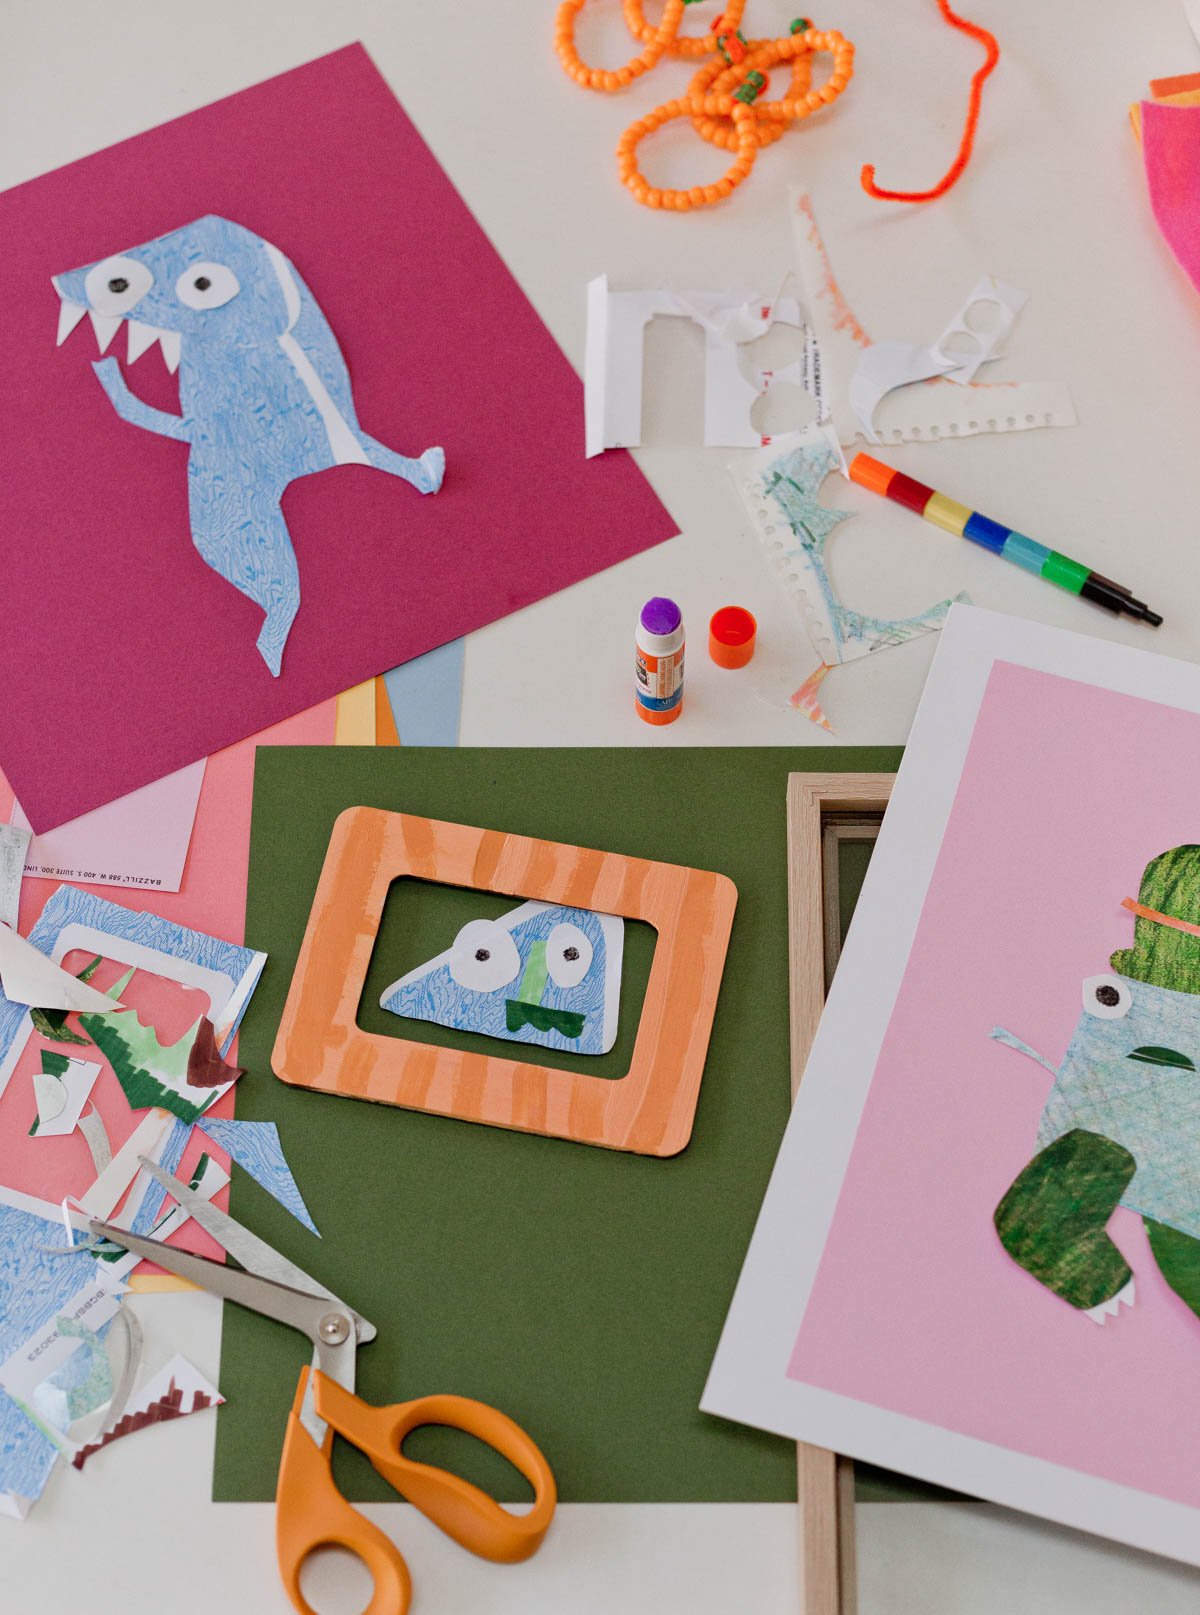
1. Design, cut and arrange.
Having a basic plan for your collage at the start is helpful in selecting pieces / shapes of paper you want to use. That said, here are some Halloween-themed art ideas to get you thinking, if you don’t know where to start…
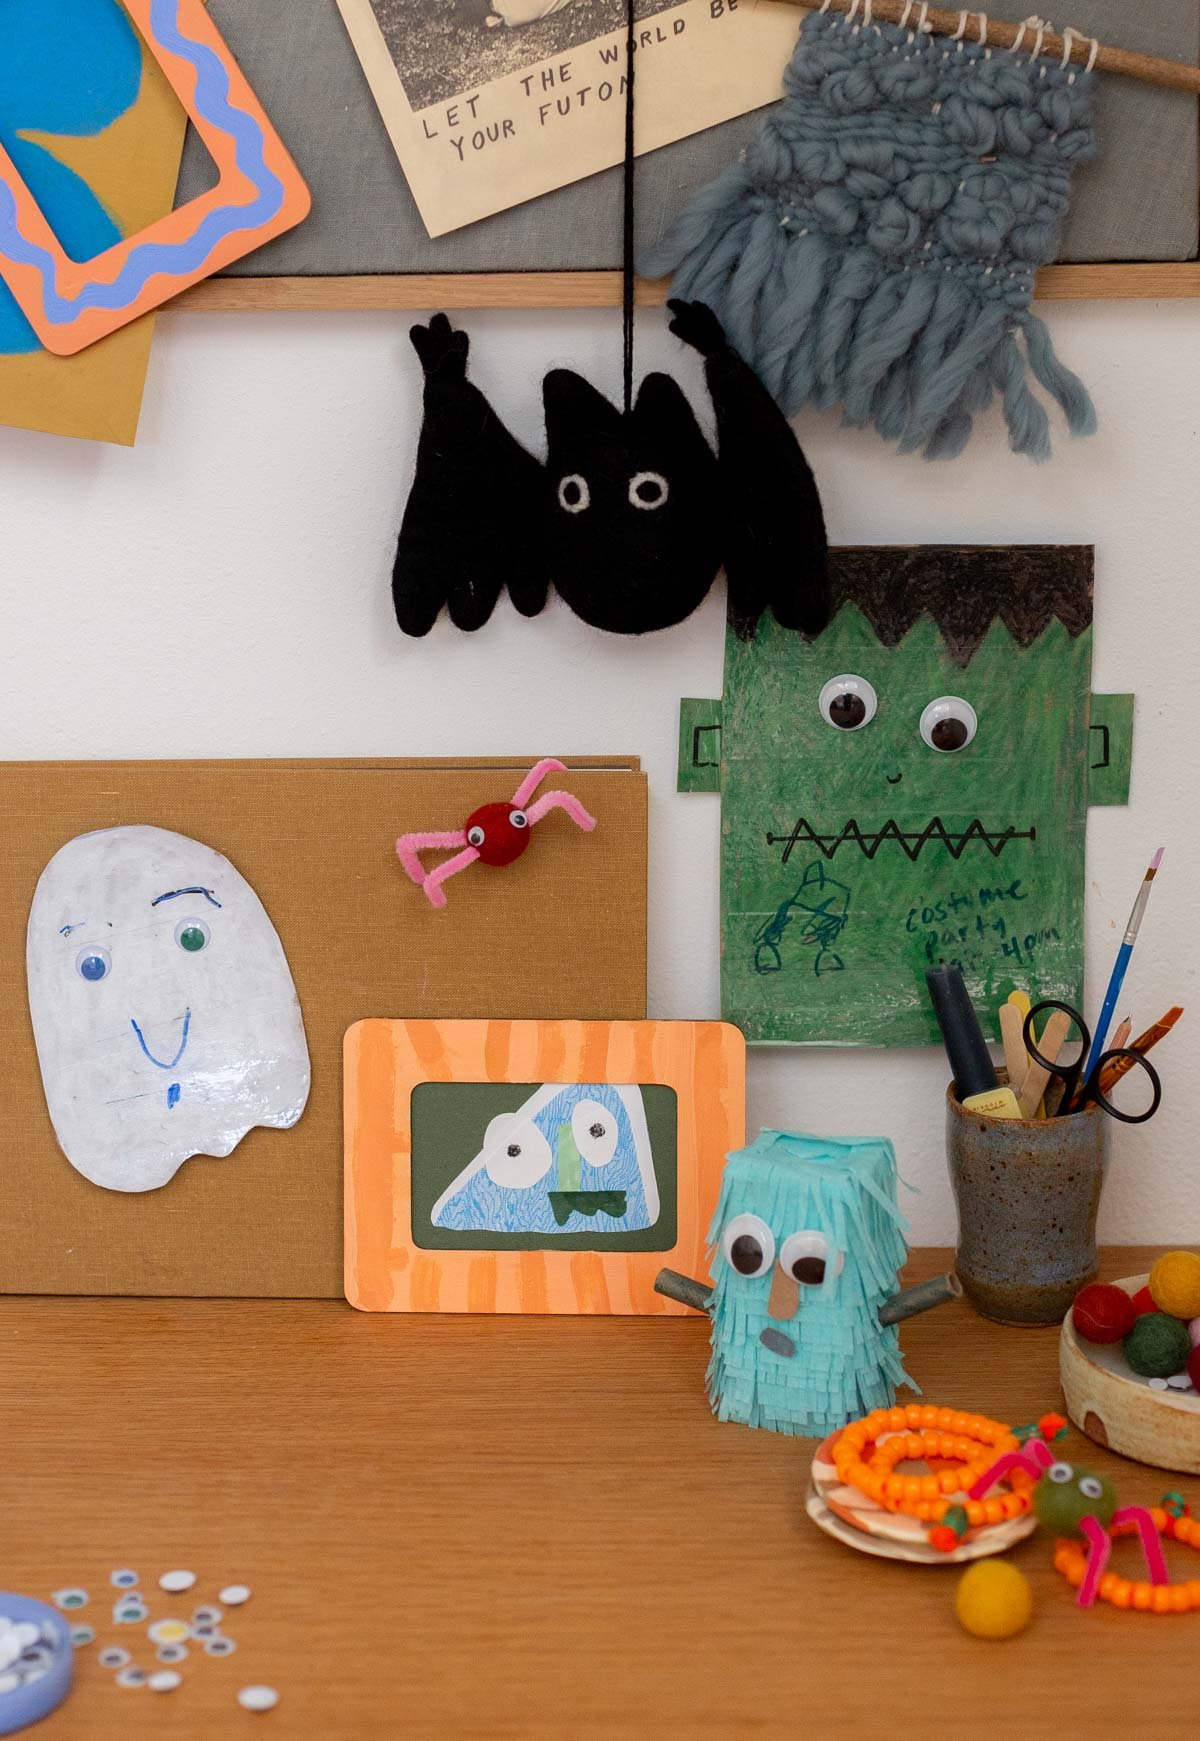
Halloween Collage Ideas
- monster family
- ghost
- pumpkin patch
- black cat
- Frankenstein
- witch and witches hat, cauldron, broom
- spooky haunted house
- candy corn and other Halloween sweets
- bats
- spiders and spider webs
- vampire
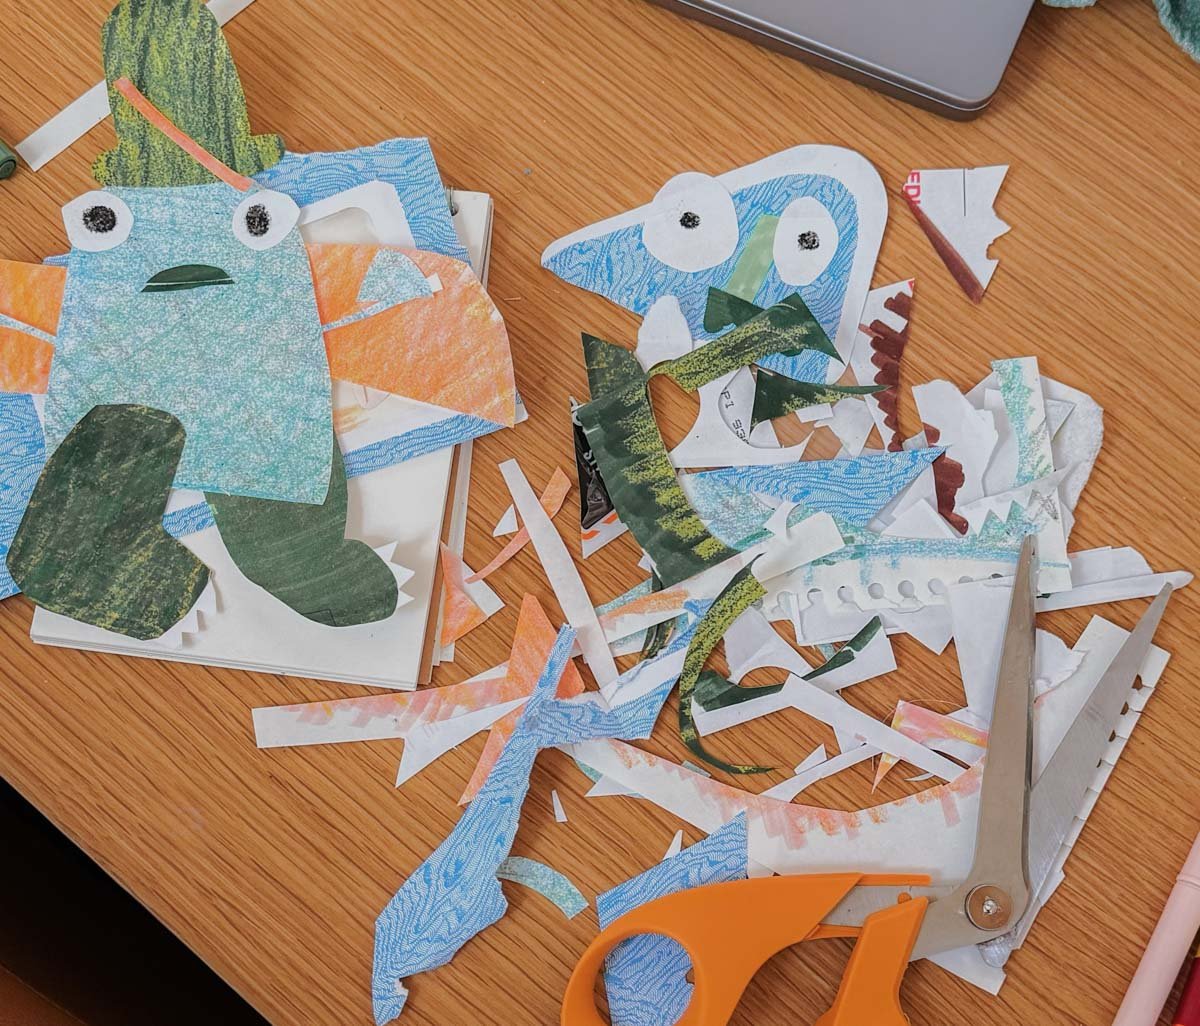
Once you have an idea for the design / theme, start cutting / ripping pieces of paper from junk mail, scraps, magazines, etc. Arrange everything loosely where you want it to go, on a larger background.
OR as another option… Approach the collage in a completely different way, and cut out scrap pieces of paper before you come up with a design. Play around and experiment, moving pieces around until something sticks in your mind. That’s the best part of collage. There are no rules!
2. Color.
This is optional, but if you plan to color / paint the scrap pieces, to bring some continuity to the subject, or just to pull in colors you want to see, this is the time.
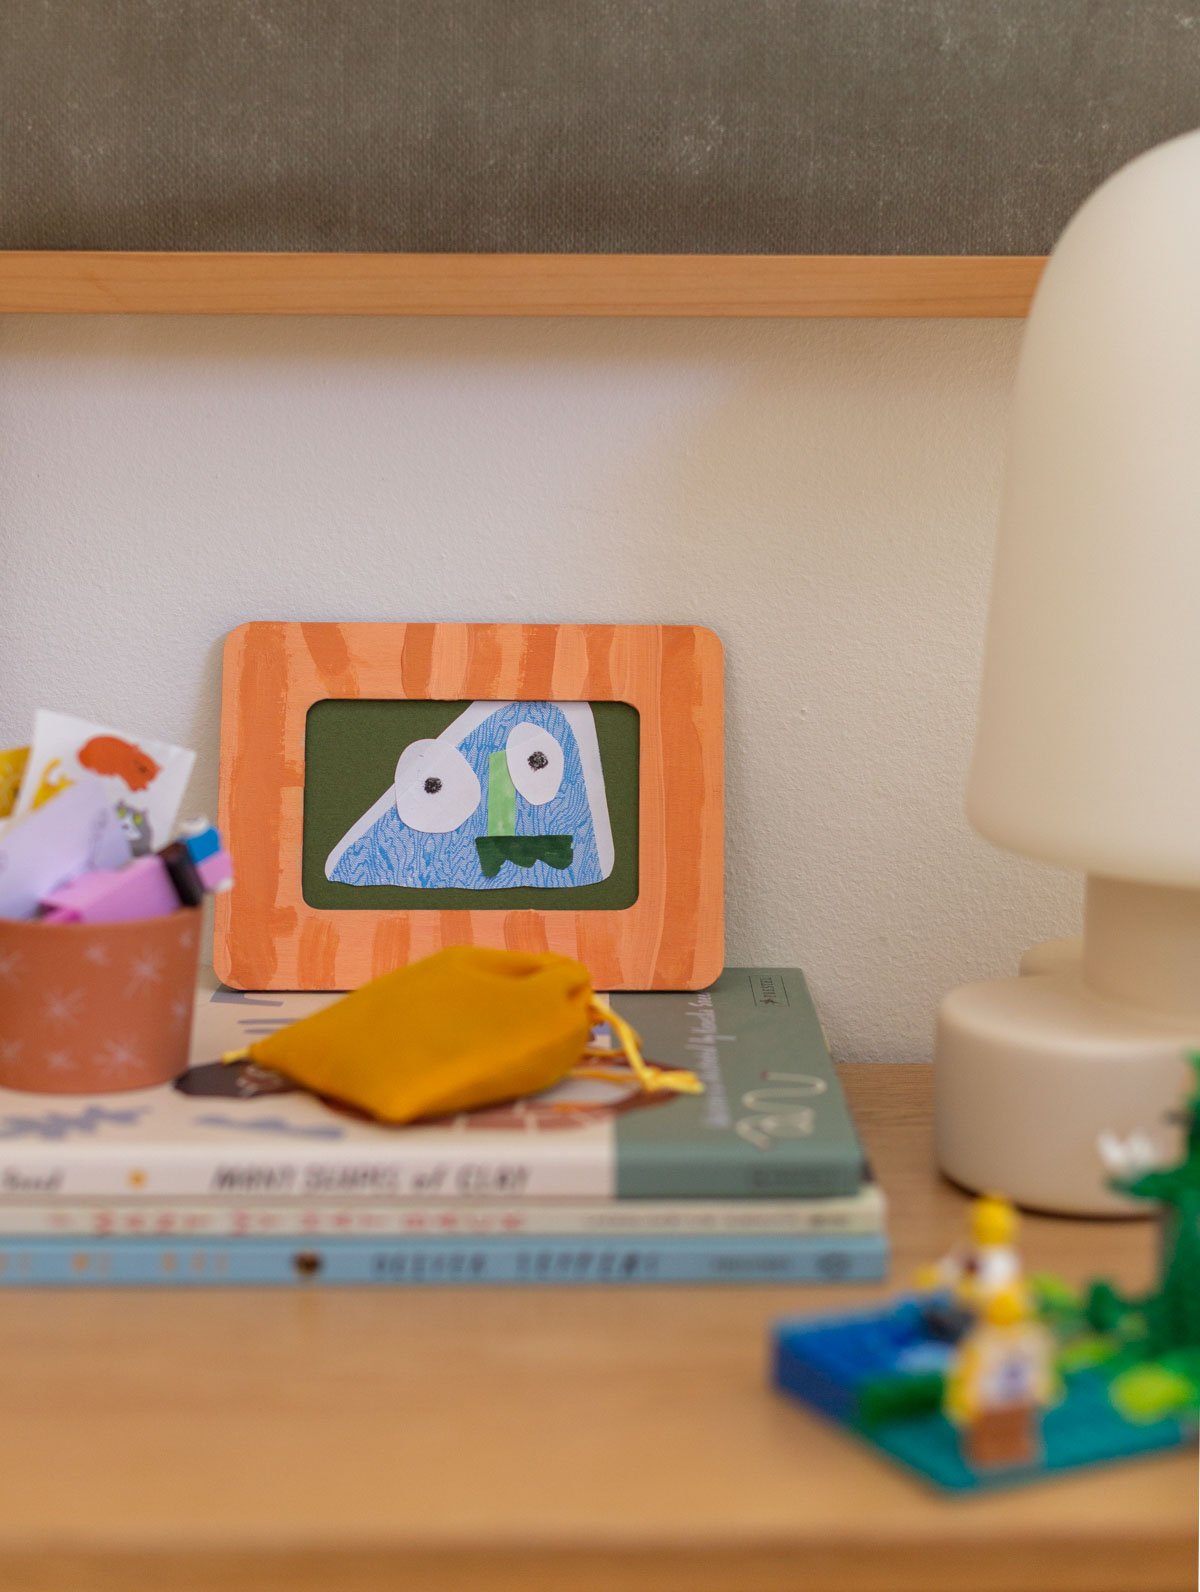
3. Glue.
Use a glue stick to attach all the pieces to the background. And that’s it – ready to frame and hang. I like to use glue sticks for collage because they don’t cause wrinkles or buckling in the paper, like glue bottles can sometimes do.
Think you’ll give these a try?
I love crafts that encourage viewing what’s in your recycling bin as art supplies.
And because these Halloween collages are made of mostly scraps that would otherwise be discarded, you can be less precious about it. More freedom, less perfection – in the best possible way. Enjoy!
DIY Halloween Art from Junk Mail
A Halloween art project that you can display year round.
- junk mail, catalogs, magazine clippings
- sturdy background – like cardboard from a cereal box, cardstock, etc
- crayons, colored pencils, markers, paints (optional)
- glue stick
Design, cut, and arrange.
-
Having a basic plan for your collage at the start is helpful in selecting pieces / shapes of paper you want to use.
-
Once you have an idea for the design / theme, start cutting / ripping pieces of paper from junk mail, scraps, magazines, etc. Arrange everything loosely where you want it to go, on a larger background.
-
OR as another option… Approach the collage in a completely different way, and cut out scrap pieces of paper before you come up with a design. Play around and experiment, moving pieces around until something sticks in your mind. That’s the best part of collage. There are no rules!
Color.
-
This is optional, but if you plan to color / paint the scrap pieces, to bring some continuity to the subject, or just to pull in colors you want to see, this is the time.
Glue.
-
Use a glue stick to attach all the pieces to the background. And that’s it – ready to frame and hang. I like to use glue sticks for collage because they don’t cause wrinkles or buckling in the paper, like glue bottles can sometimes do.
Halloween Collage Ideas
- monster family
- ghost
- pumpkin patch
- black cat
- Frankenstein
- witch and witches hat, cauldron, broom
- spooky haunted house
- candy corn and other Halloween sweets
- bats
- spiders and spider webs
- vampire
[ad_2]