[ad_1]
I am well past the point of no return on my plans for the walls in our bedroom, but let me just state this very clearly. After this week, I’m totally regretting my decision to do wainscoting in this room. And it’s not because I don’t like how it look. In fact, I LOVE how it looks. I couldn’t be more thrilled with how the foyer turned out, and I’m anxious to see it through to completion with the grasscloth wallpaper.
No, it’s not the overall design plan that I was regretting last night when I went to bed. It’s the fact that I chose to put wainscoting in the one room that is the most unlevel and out of square room in our whole house. And it also has the waviest walls I’ve ever dealt with. I have never had this much trouble installing trim in any other room of our house. Generally, things are a little bit unlevel, or just a touch out of square. I can generally disguise that so that when it’s finished, those imperfections aren’t obvious. But this room is on another level altogether.
But believe you me, I won’t give up. And when it’s finished, it WILL look nice. This has become my own personal challenge now, and there’s no way I’m going to let this room defeat me. 😀
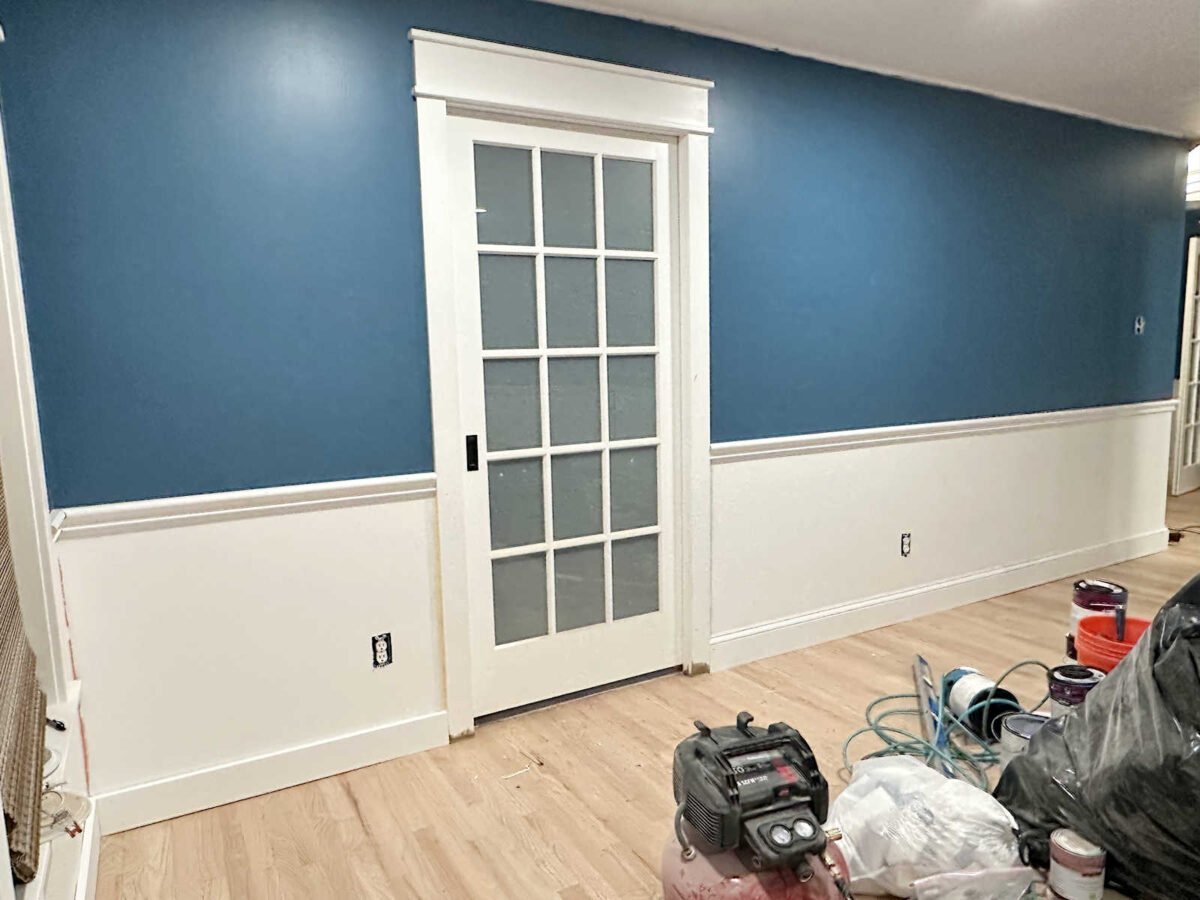
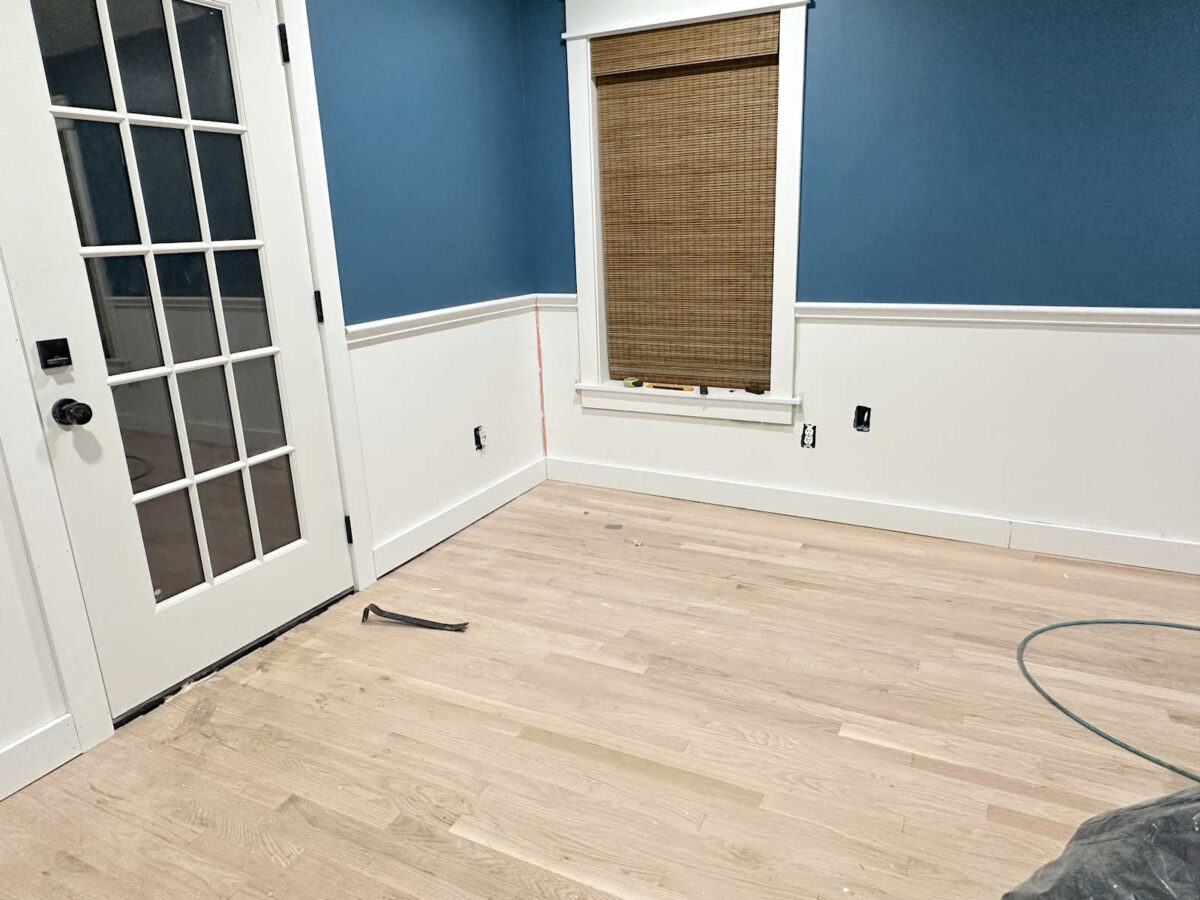
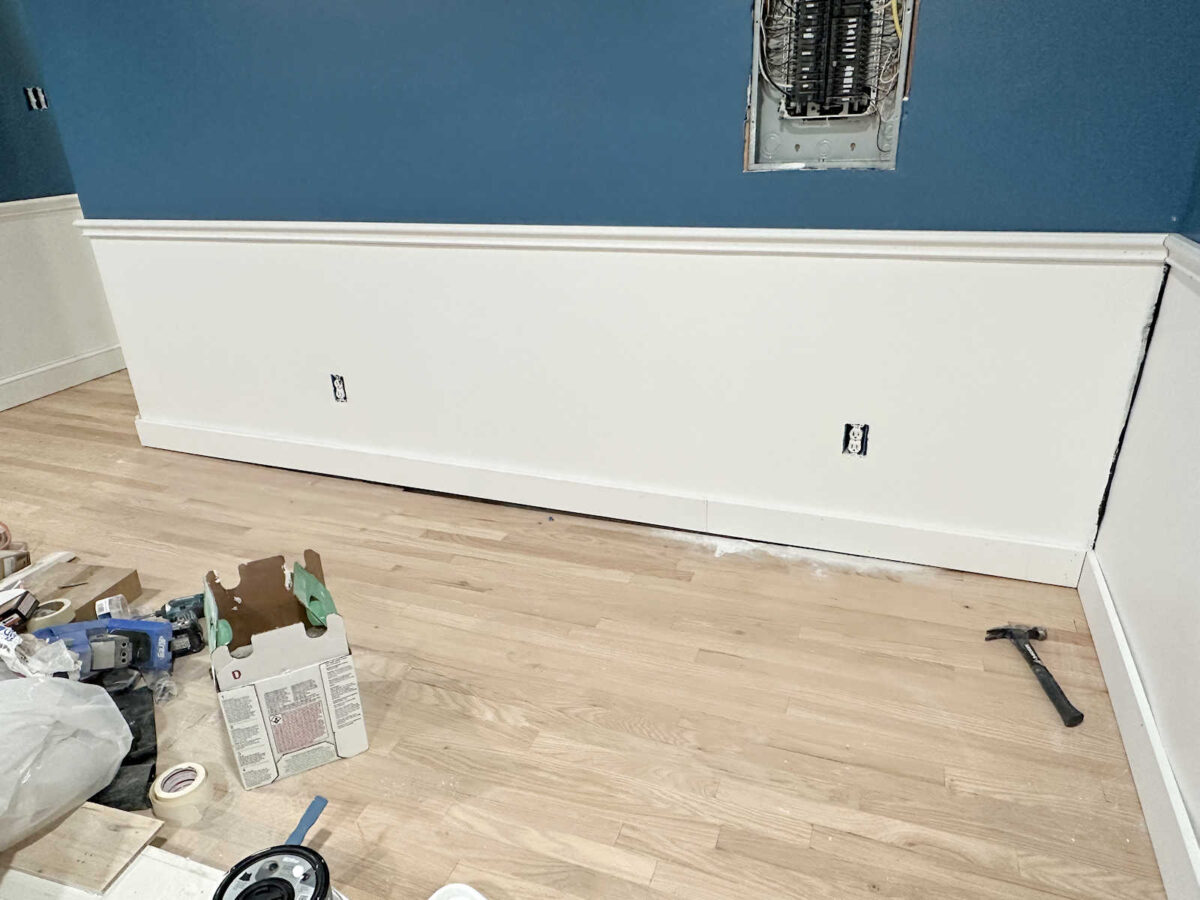
The good news is that this long wall went fairly smoothly. I’m thankful that the main wall in the entrance of the room is the wall that’s pretty flat and is probably the most level and square in the whole room.
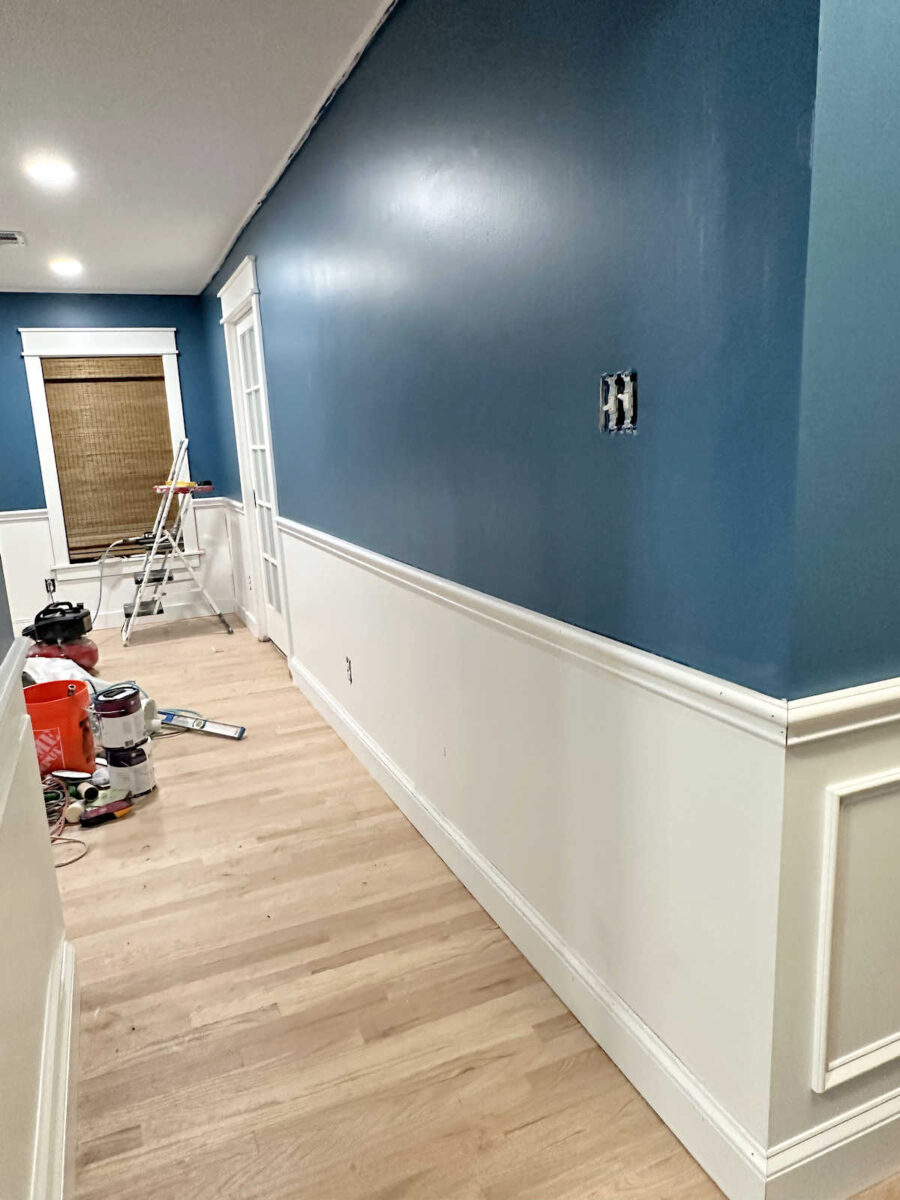
I’m especially thankful for that since it’s the one wall that won’t have furniture or draperies layered over it. I did this wall first, and I was feeling pretty confident. But that confidence faded pretty quickly as I moved around the room.
As I worked my way around the room, I couldn’t depend on measurements for trim placement. I tried measuring from the floor, but that was a terrible idea since the floor is so unlevel. I tried measuring from the ceiling, but that gave me the same problem. So I tried to just rely on my levels. I used a bubble level and a laser level. I thought for sure that would be the best way to go.
But using that method, as I got to the last wall where the bedroom chair rail meets the foyer chair rail, I was about an inch-and-a-half off.
I lost count on how many times I removed the chair rail and re-installed it. I was honestly considering throwing in the towel and coming up with a new plan, but I’m way too stubborn for that.
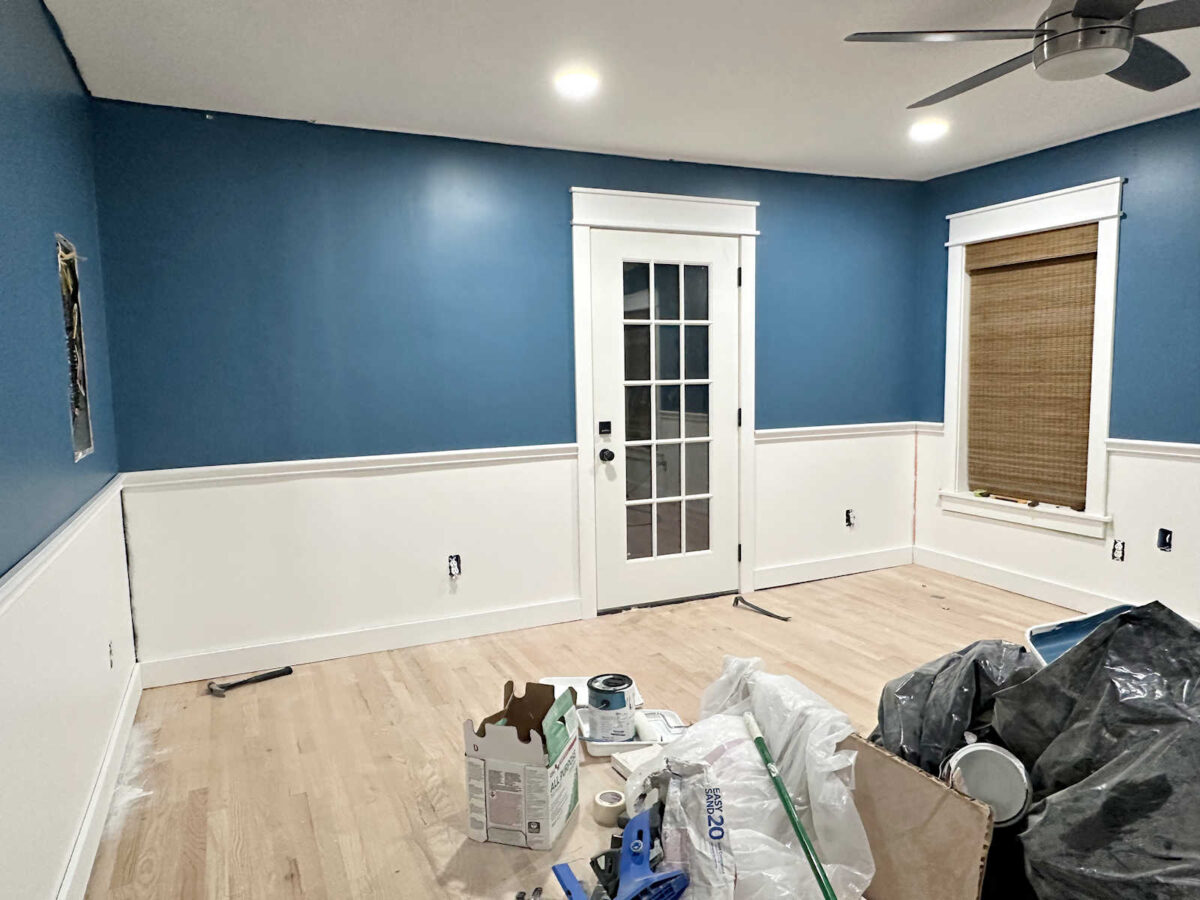
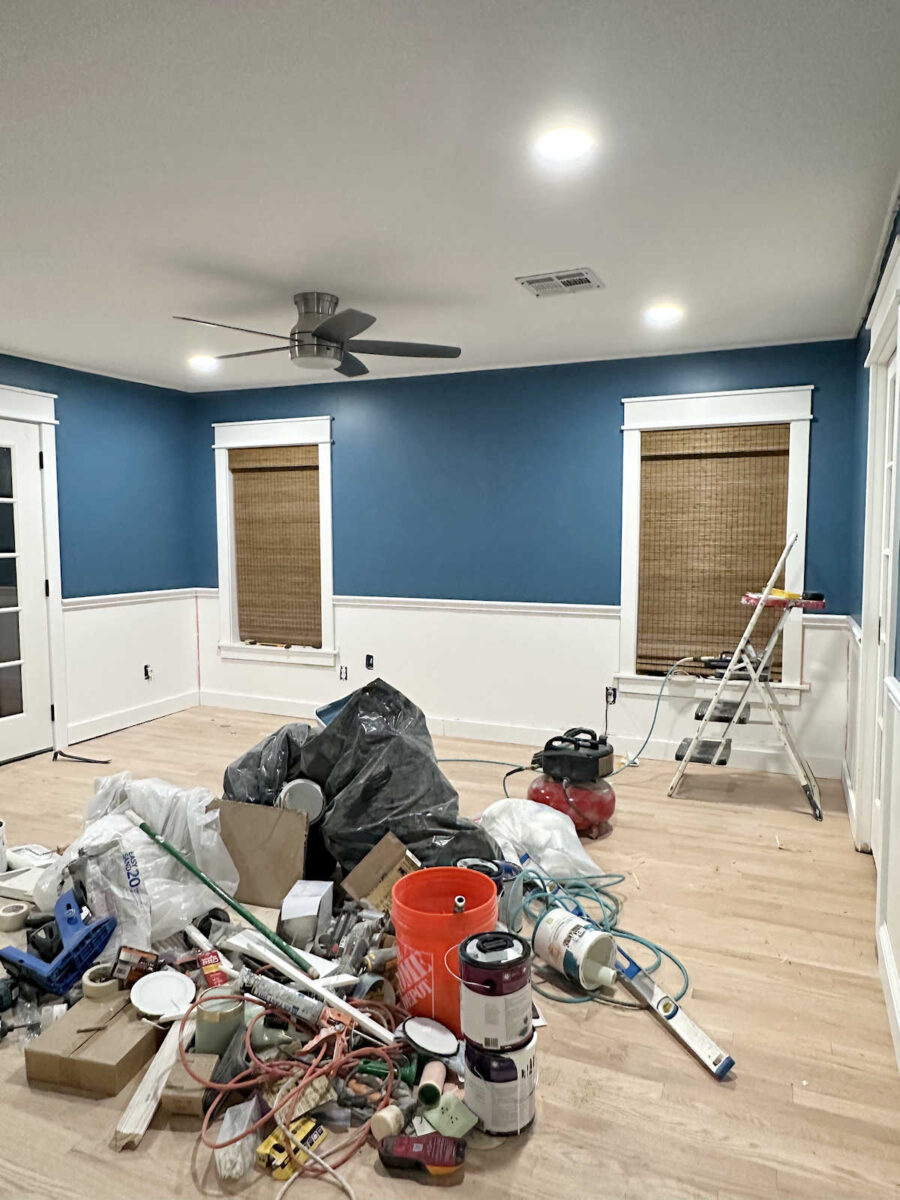
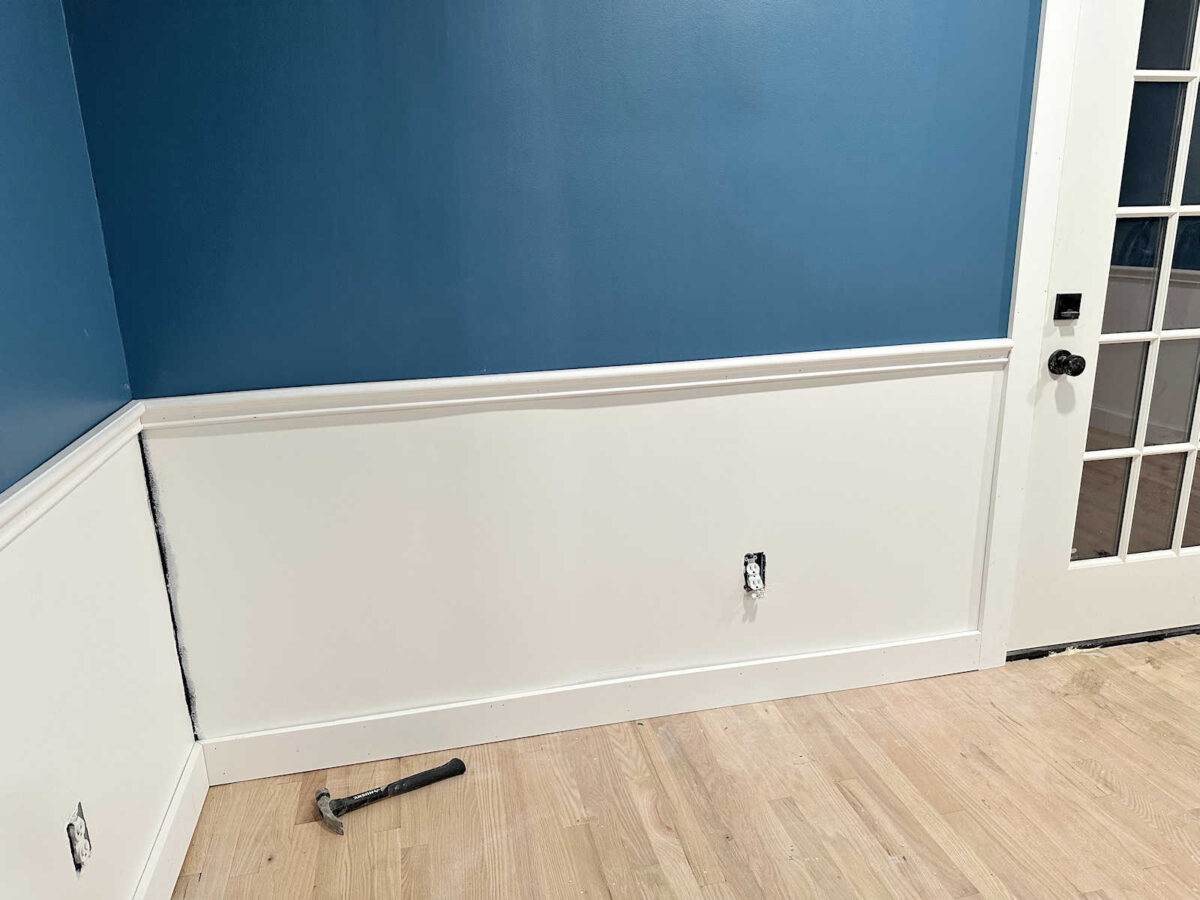
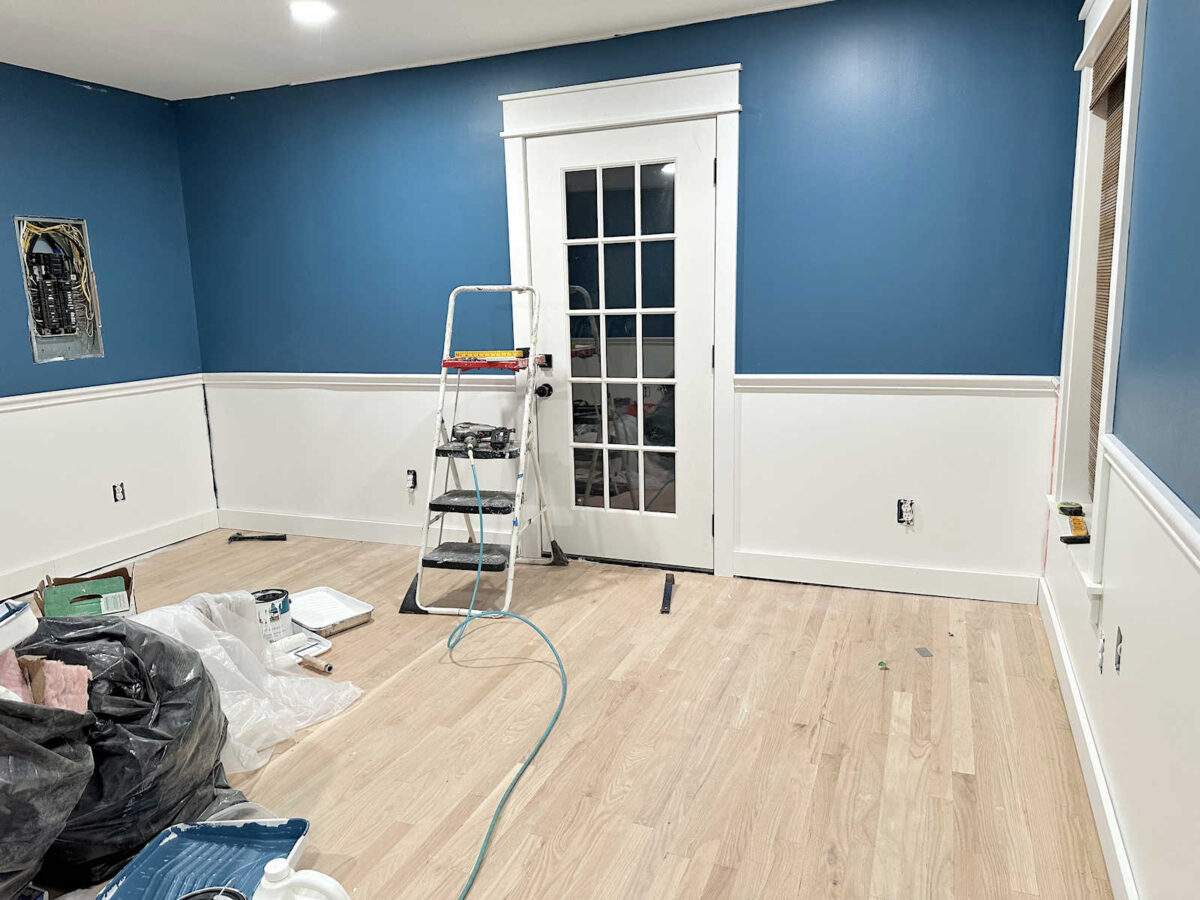
Anyway, I think I got this wall with the bathroom door looking pretty decent. It’s not perfect, but once everything is in the room, I think it’ll look nice.
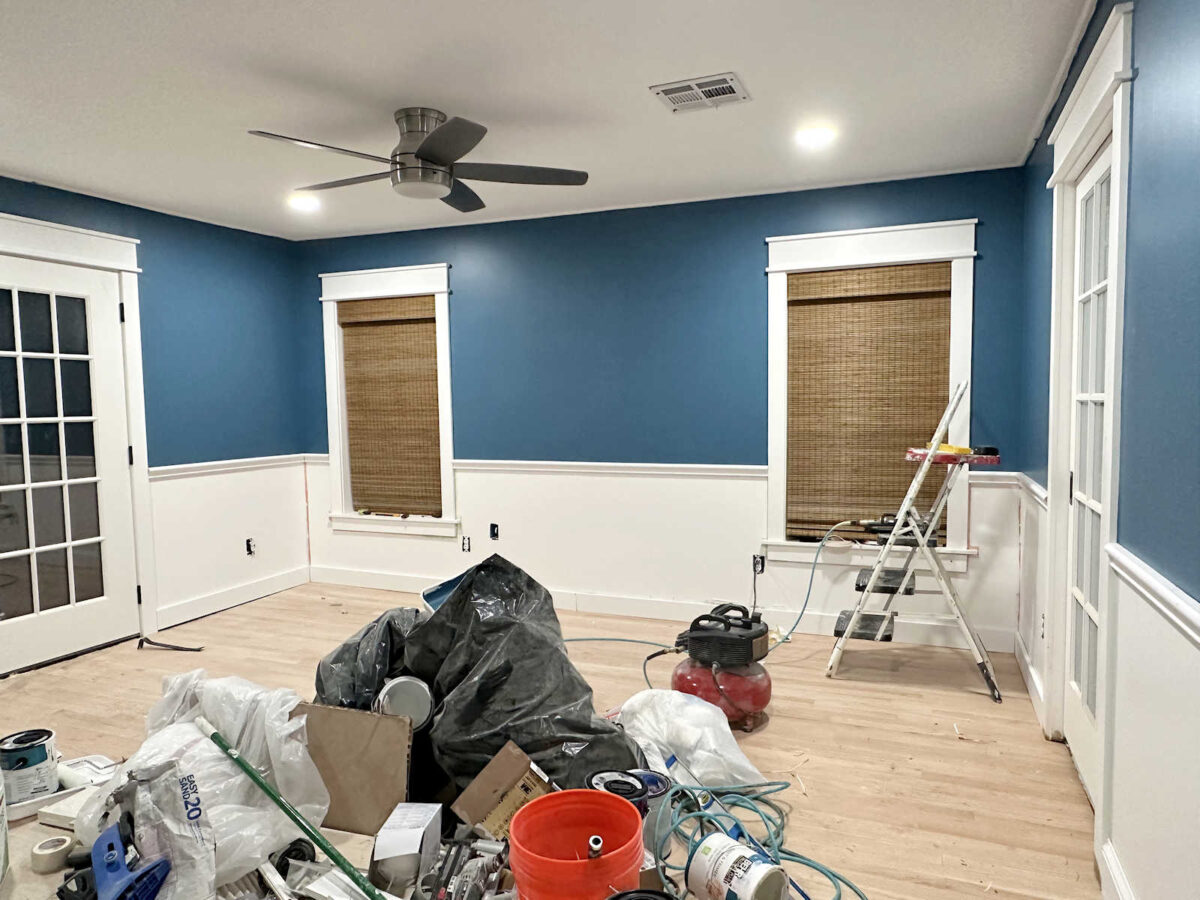
And the headboard wall is fine. Again, I had to remove and reinstall that trim countless times, but I finally got it looking pretty level (splitting the difference here, and splitting the difference there). But this wall will be mostly covered with draperies and a headboard anyway, so I’m not too concerned.
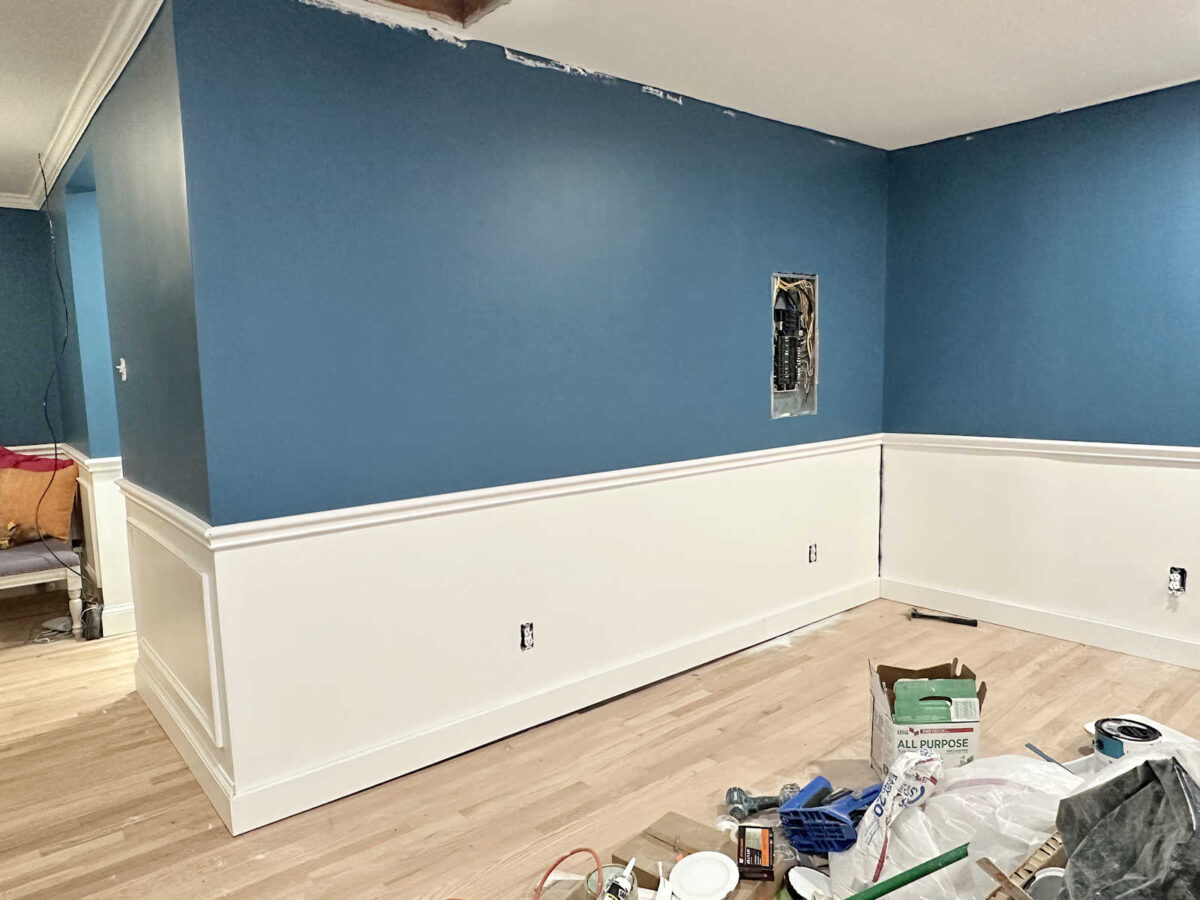
But this corner is just…UGH. It’s so out of level that you can see it. I mean, there’s no disguising that.
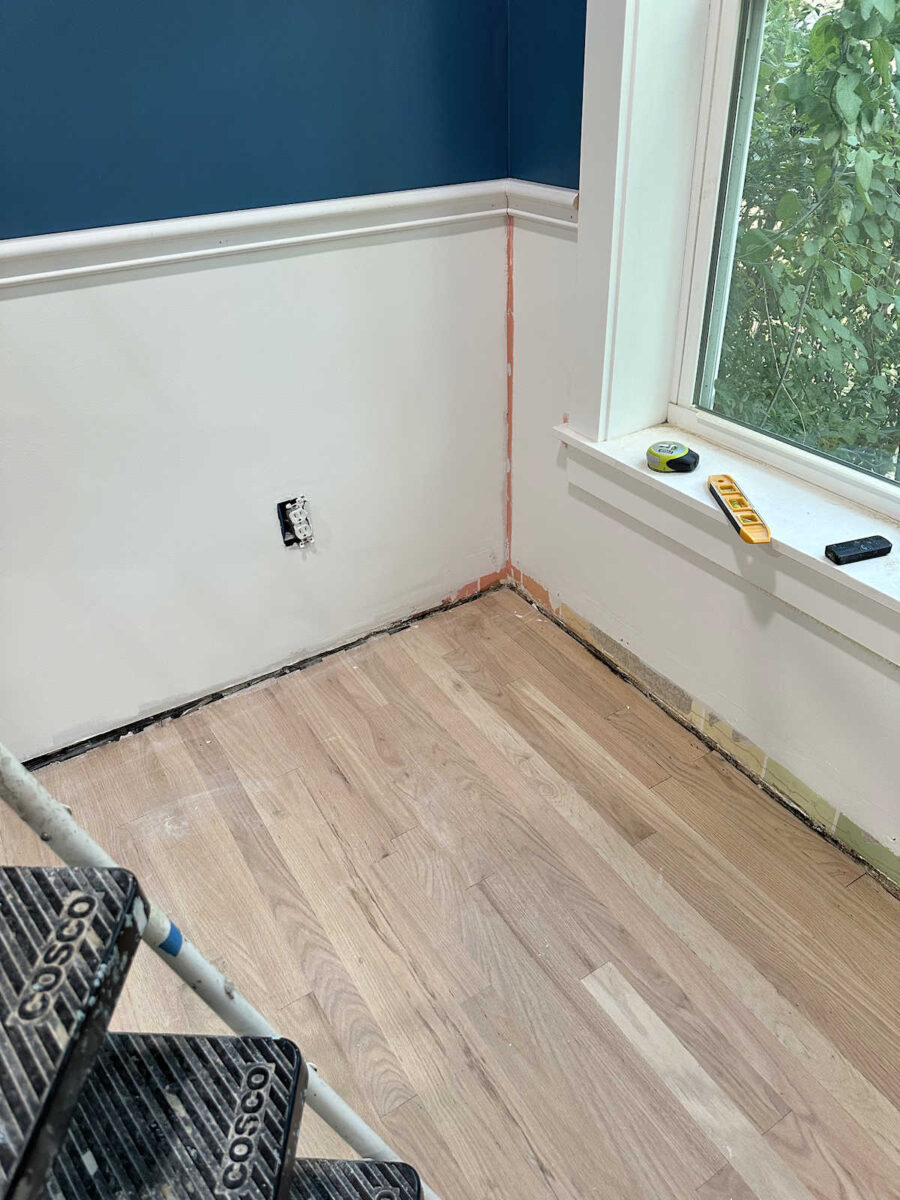
So installing the trim there was a nightmare. I’m still not pleased with how it looks, so I’ll probably end up taking those baseboard pieces off, trimming some off of the bottom, and reinstalling it so that it will disguise that high point in the floor a bit more.
I mean, you can see just by looking at it that the baseboard trim goes up towards the corner of the room. It’s very obviously not level with the trim under the window. Of course, there’s zero chance that the window is level, so there will be more “splitting the difference” required there as well.

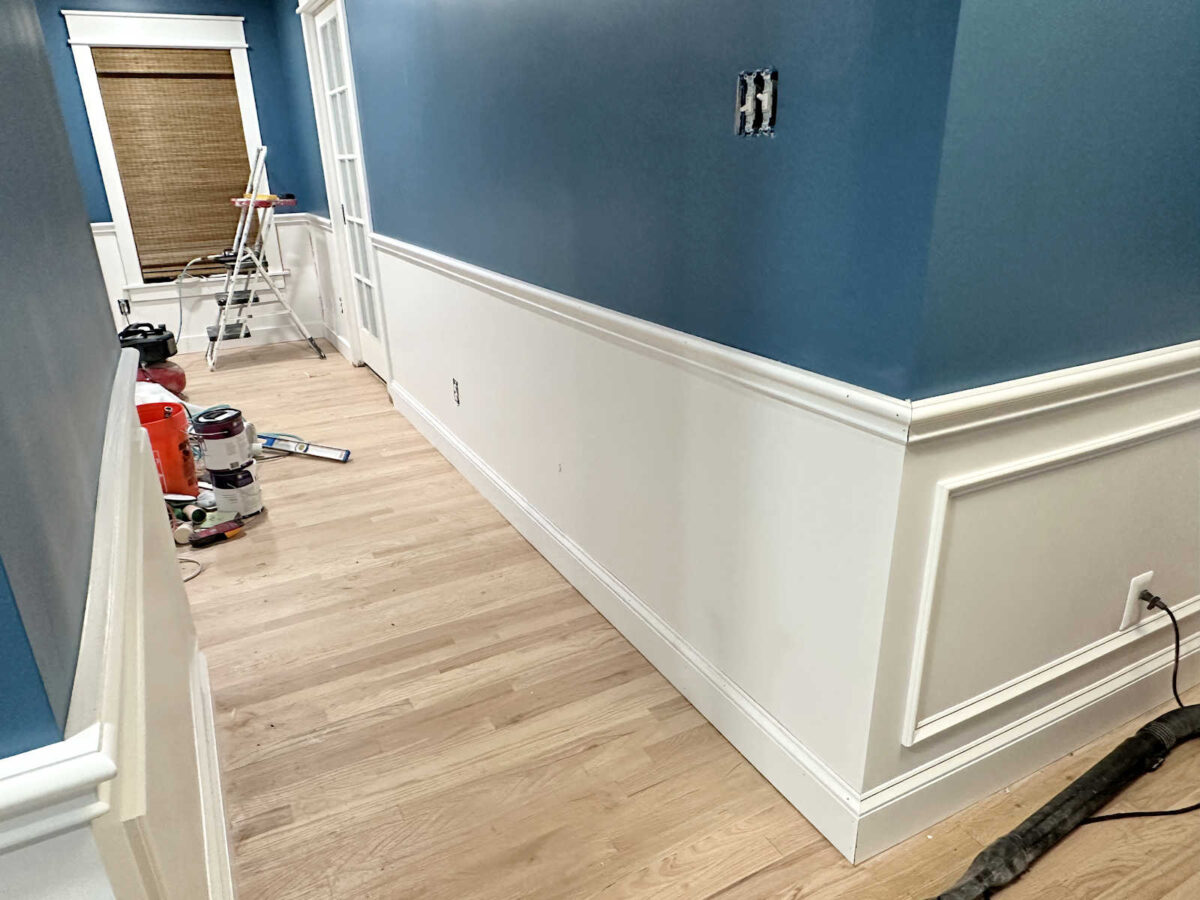
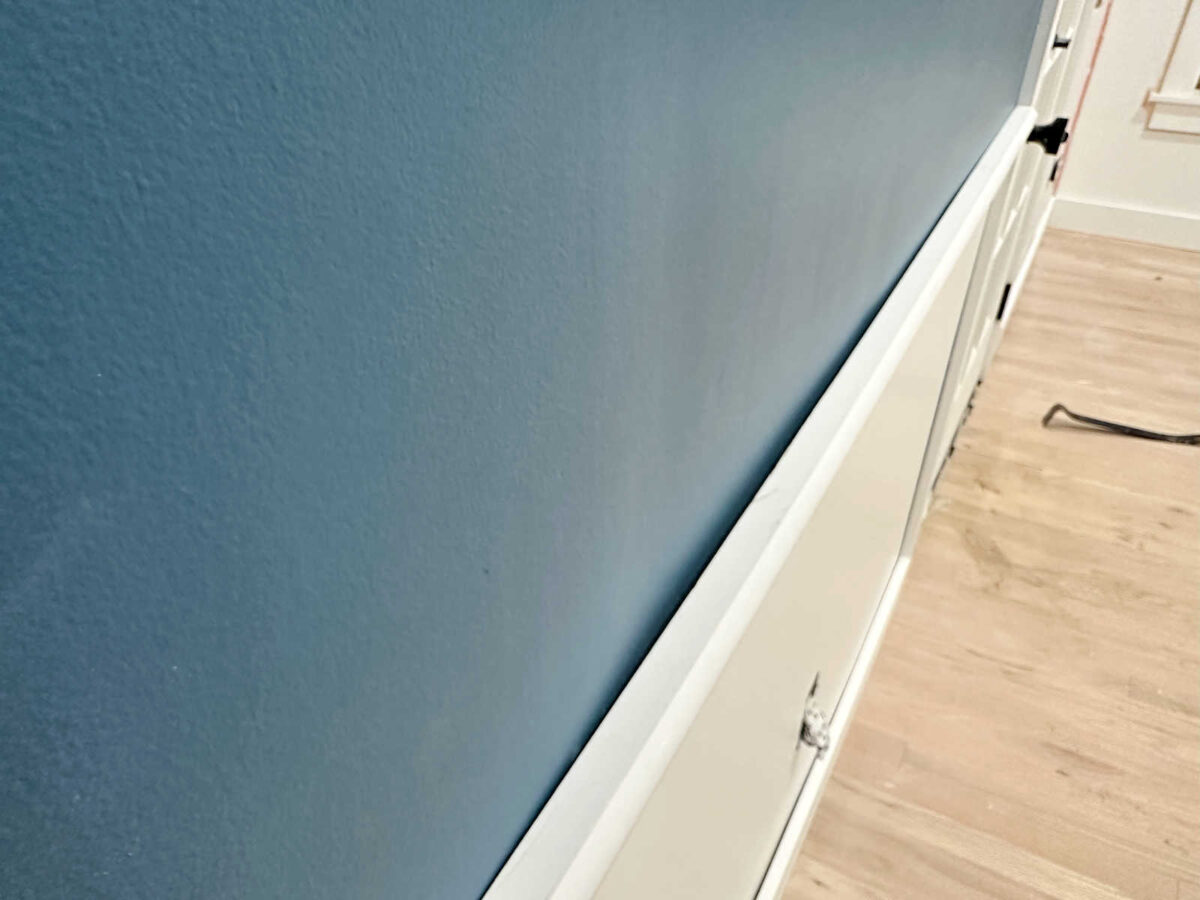
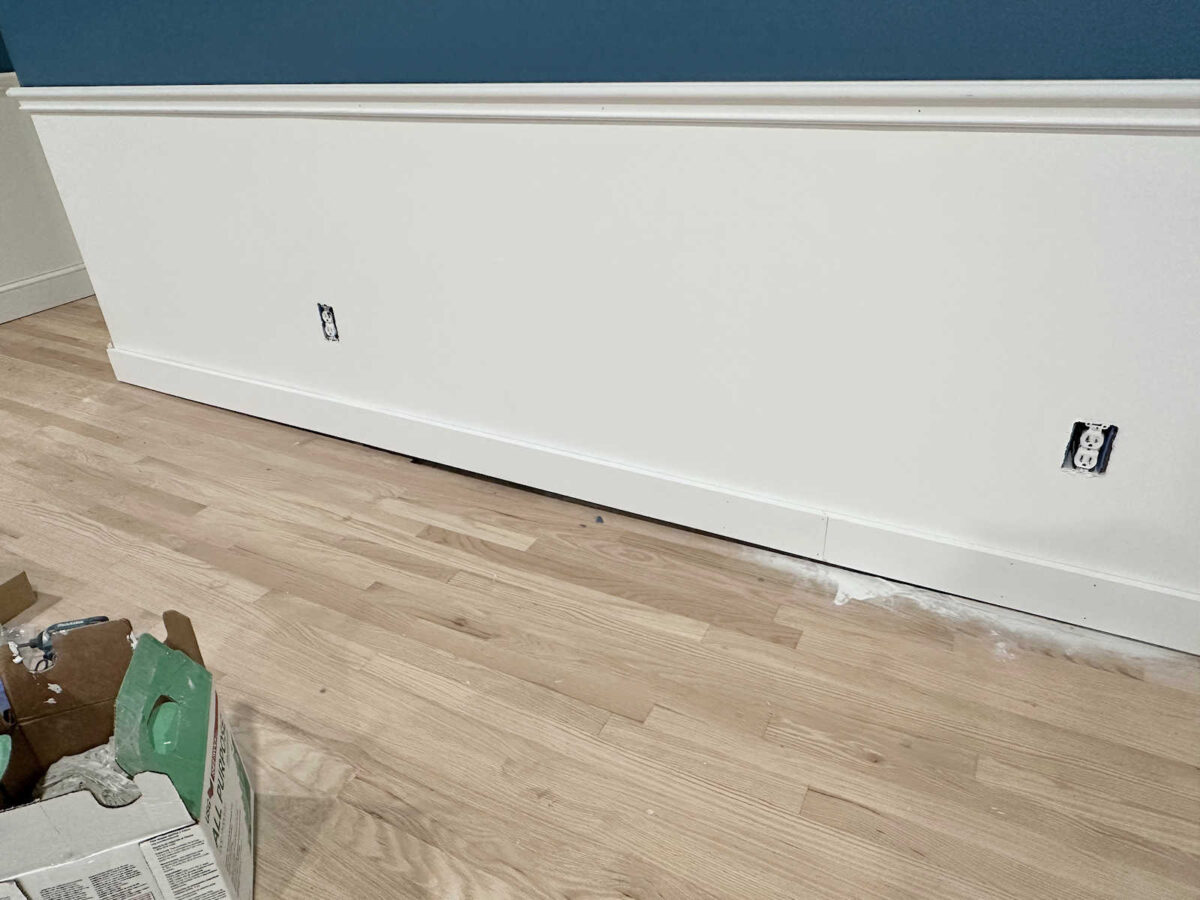
And then there’s this wall, the waviest wall in the house. You can see how wavy it is just by the shadows under the chair rail.
And there’s no disguising that wave with the trim.
The baseboard looks bad, but the chair rail look even worse. That gap is much bigger than it looks in the picture, but even in the picture, it looks huge. That’s way too much to fill with caulk.
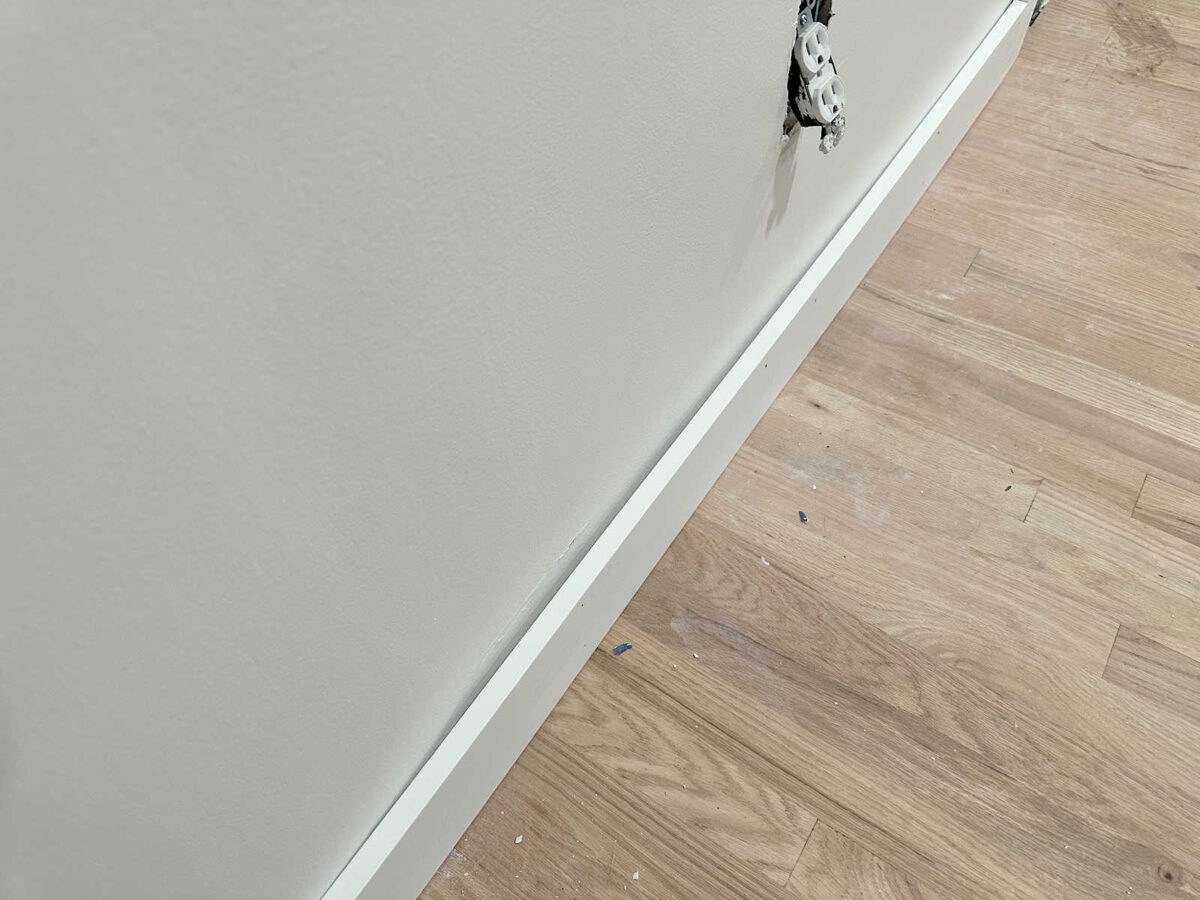
And then there’s this wall. While the others were bad, this one is the worst. The floor dips down in the middle, so I’m left with this big gap under the baseboards. Plus, the flooring doesn’t go all the way to the wall because the room isn’t square, so one board tapers off right in the middle.
I think that gap is too big to cover with regular quarter round, so I’ll have to get creative.
And then working around a door that IS level and square, but that is set into a wall that isn’t at all level made that chair rail installation even harder. I had to get the chair rail somewhat in line with the grid on the door on both sides, but with the floor so unlevel, it was not an easy task.
Anyway, this has been one of the most frustrating projects I’ve ever done. I don’t remember ever having to remove and reinstall trim as many times as I’ve had to do in this room. And you can see the challenges that I’m dealing with. I WILL get it done, but it has been much more challenging than I expected. And I’m going to have to do something about that wavy wall, which makes me feel like I’m going backwards instead of forwards. That’s frustrating.
So, take it from me. If you’re wanting to do wainscoting in a room, make sure that the floor and ceiling are at least somewhat level first. If you have areas that are very obviously not level, maybe come up with a Plan B and leave the wainscoting for another room. 😀
More About Our Master Bedroom
see all master
bedroom diy projects

read all master
bedroom blog posts

Addicted 2 Decorating is where I share my DIY and decorating journey as I remodel and decorate the 1948 fixer upper that my husband, Matt, and I bought in 2013. Matt has M.S. and is unable to do physical work, so I do the majority of the work on the house by myself. You can learn more about me here.
[ad_2]